
From Concept to Creation

I let whatever grabs my attention be the muse of what I want to do next,
inspired greatly by literature, the landscape around me, and family dynamics. When beginning a piece, I like to have a framework, but also enjoy being intuitive in the process.


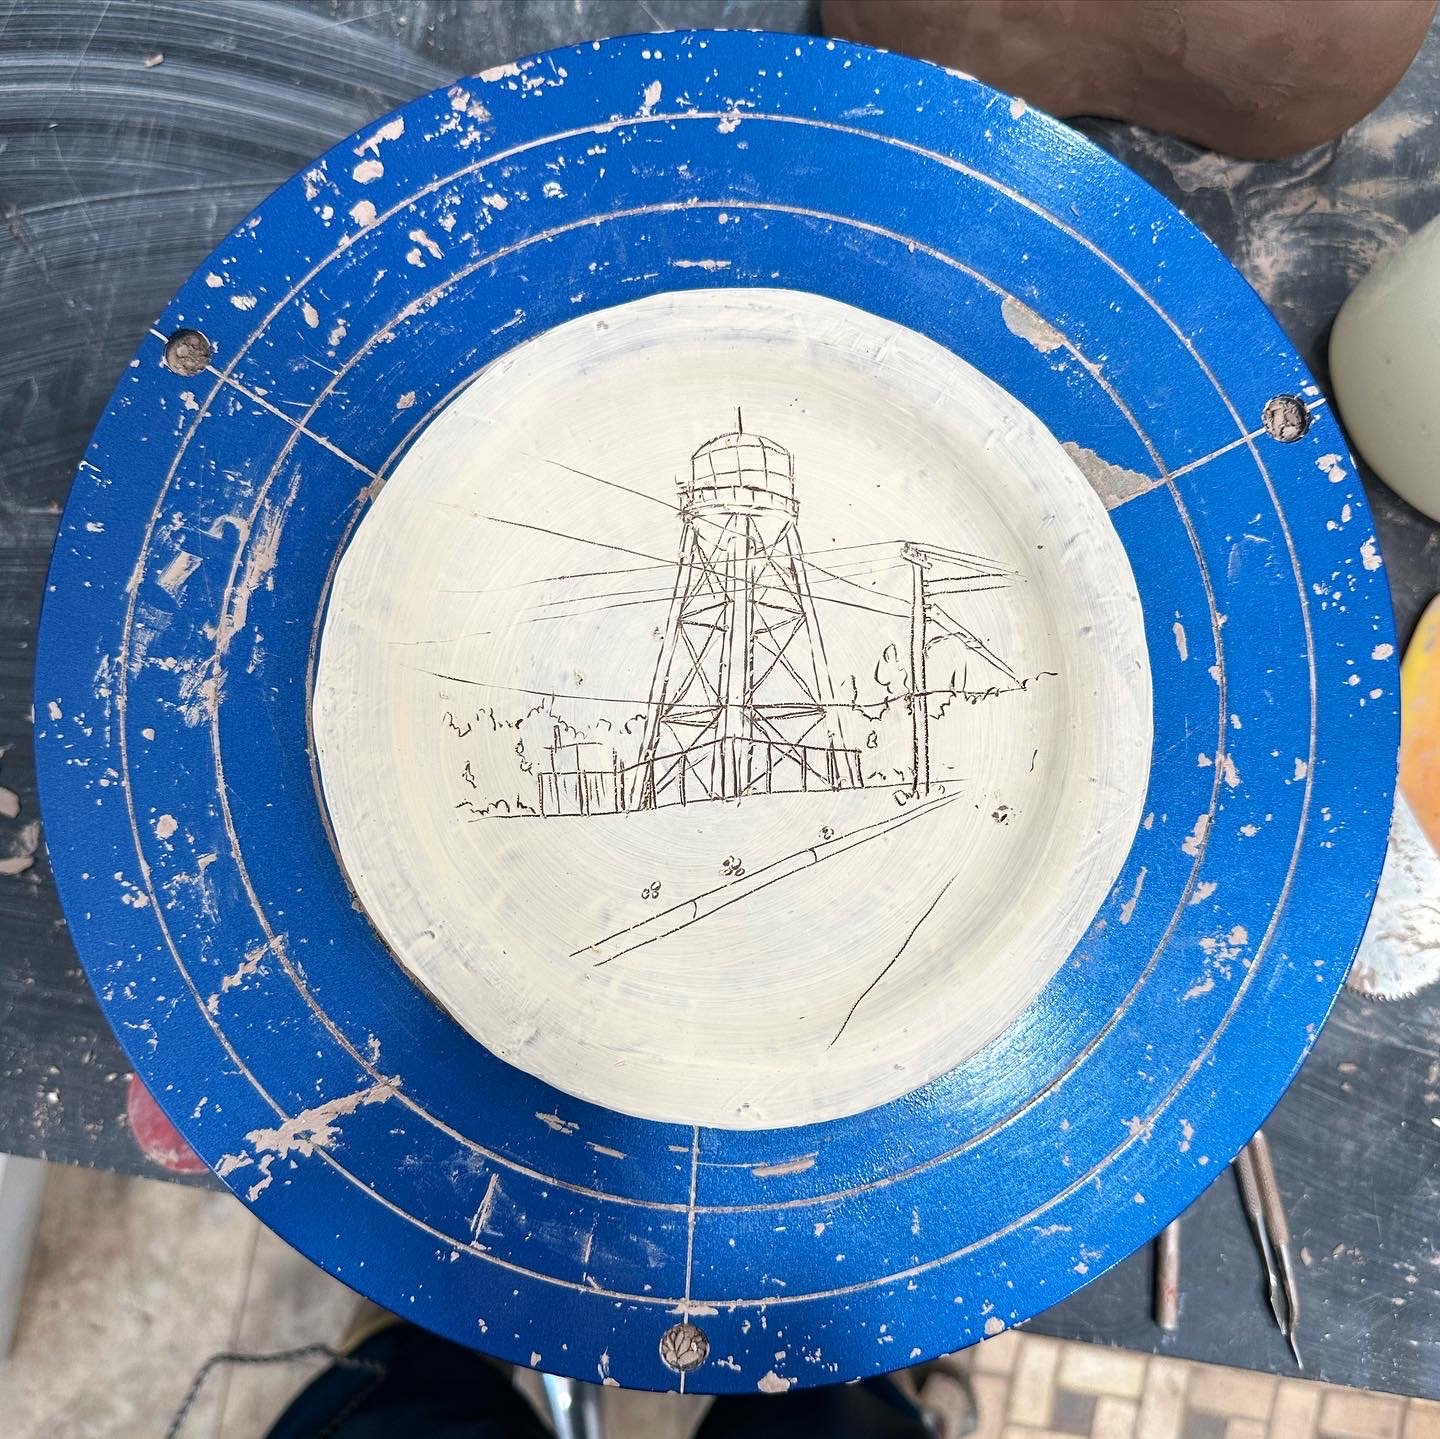
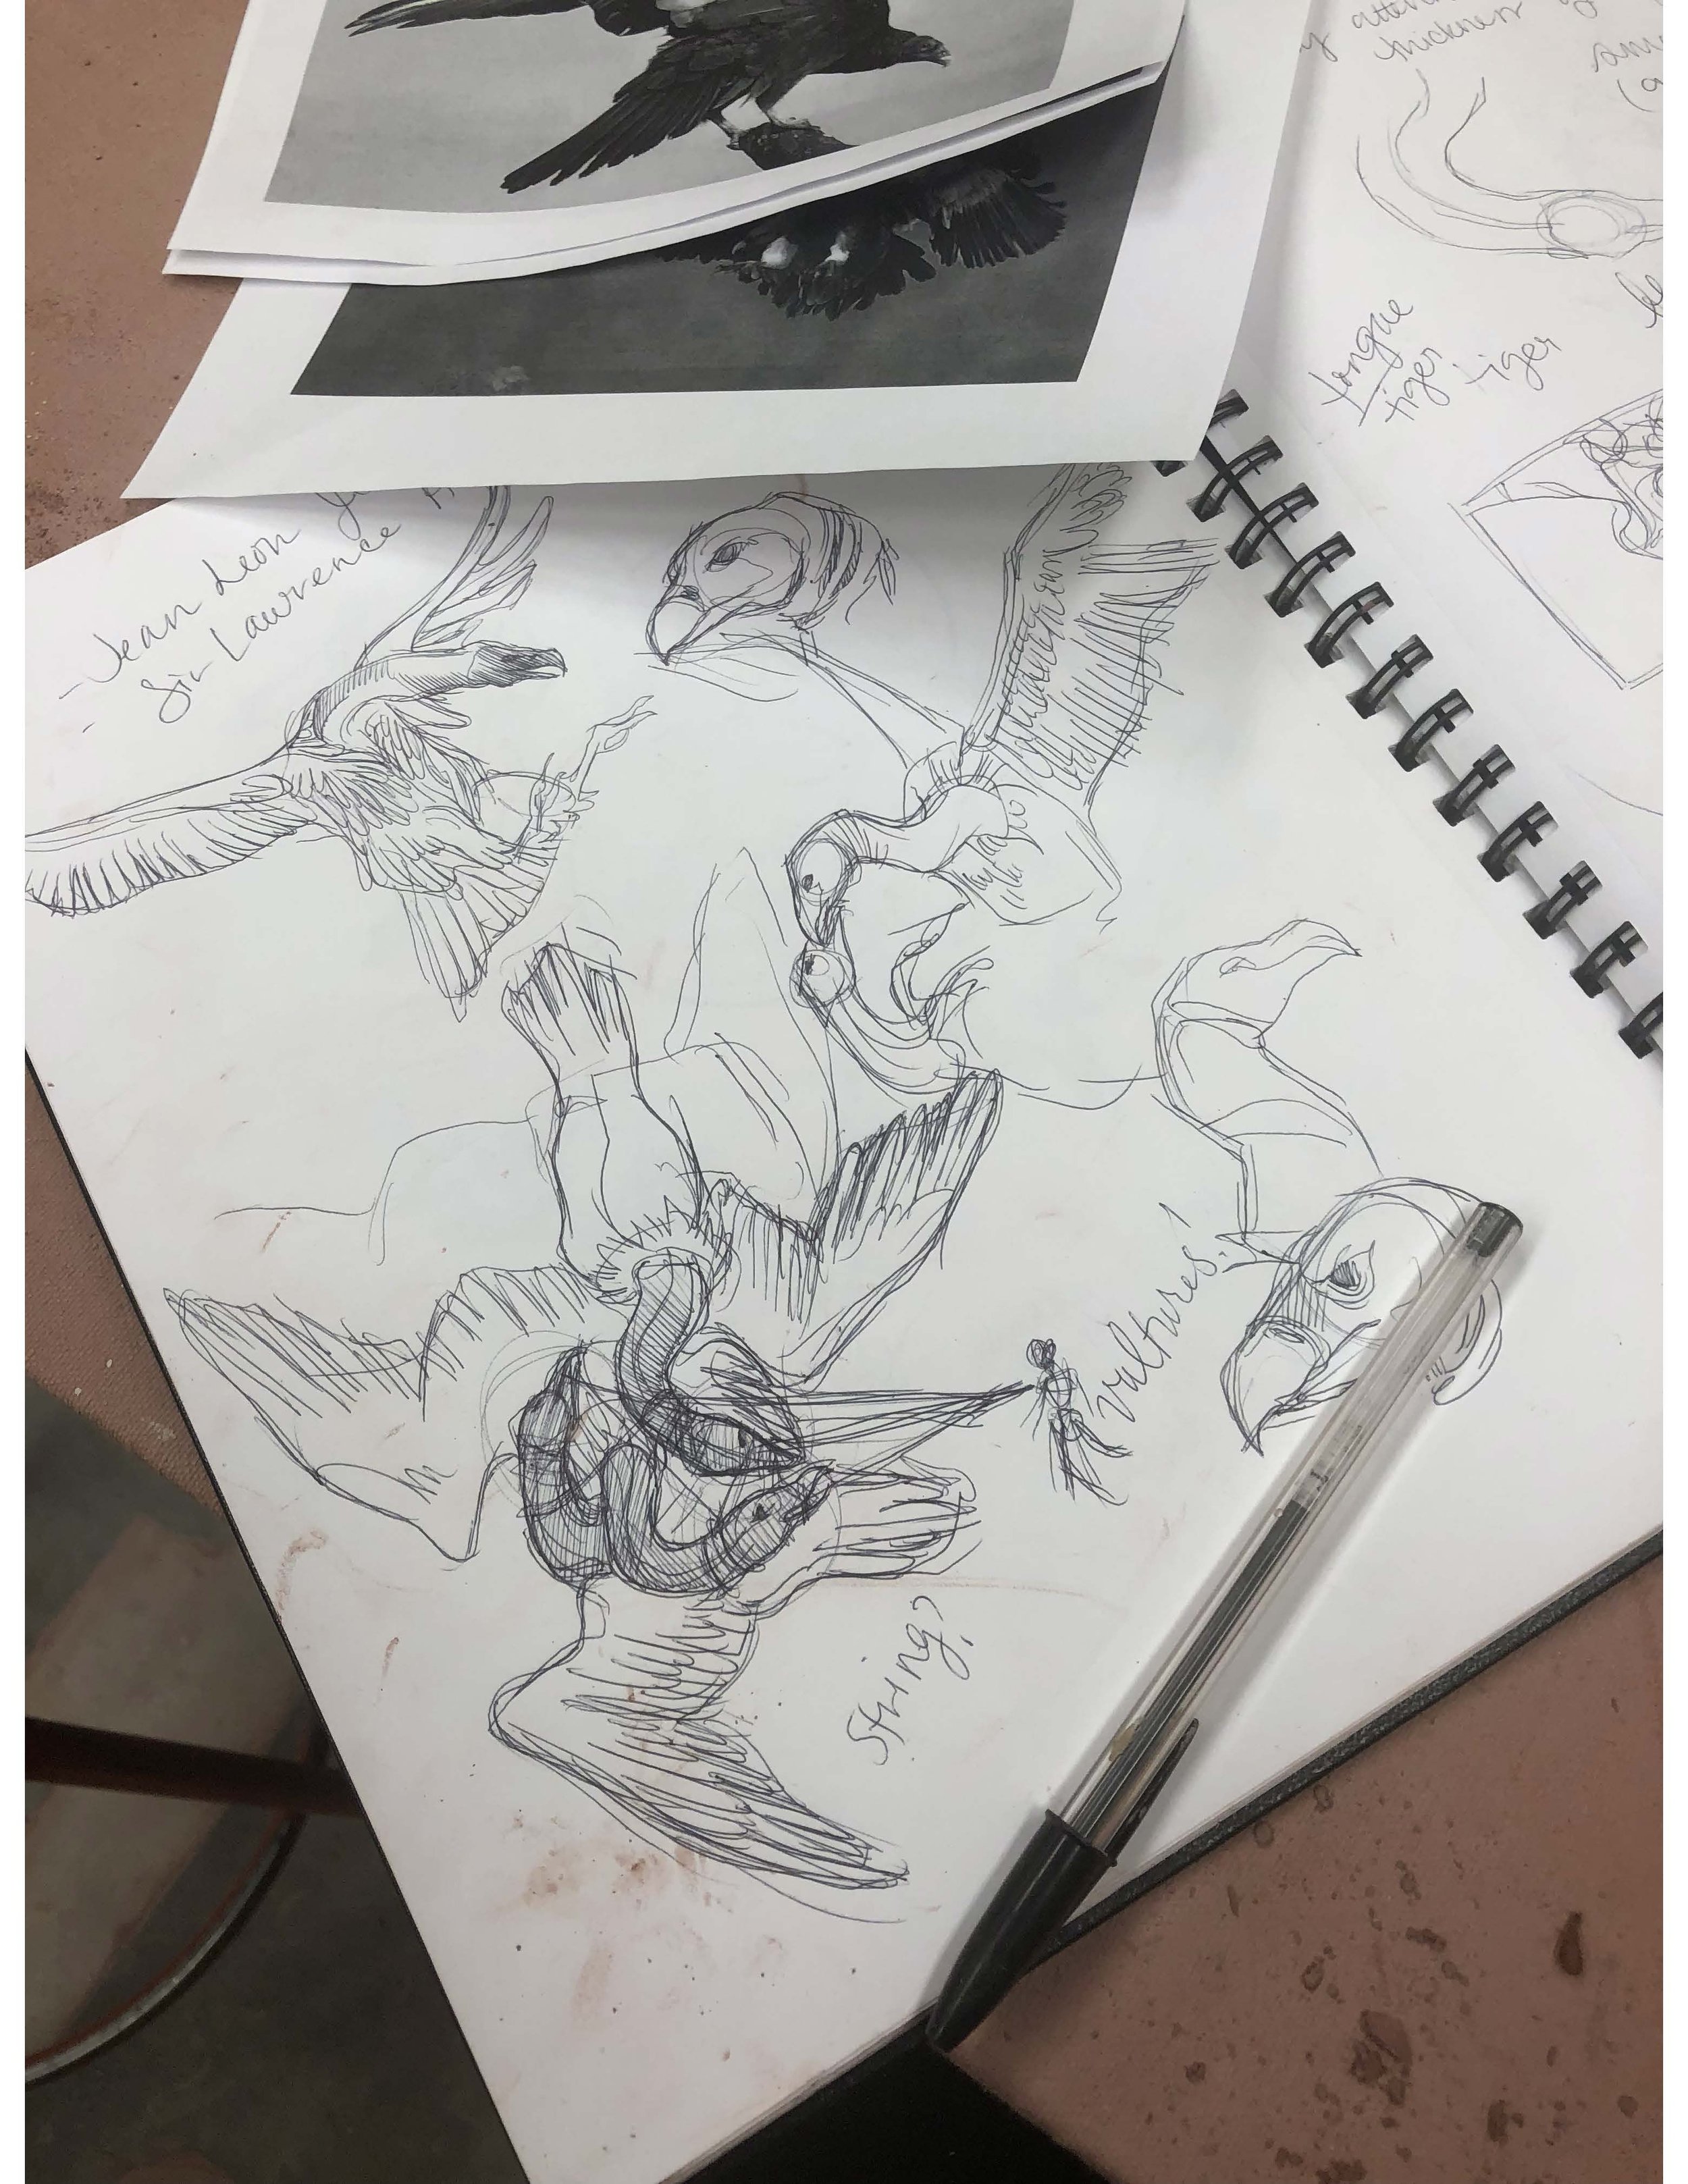
SKETCHING
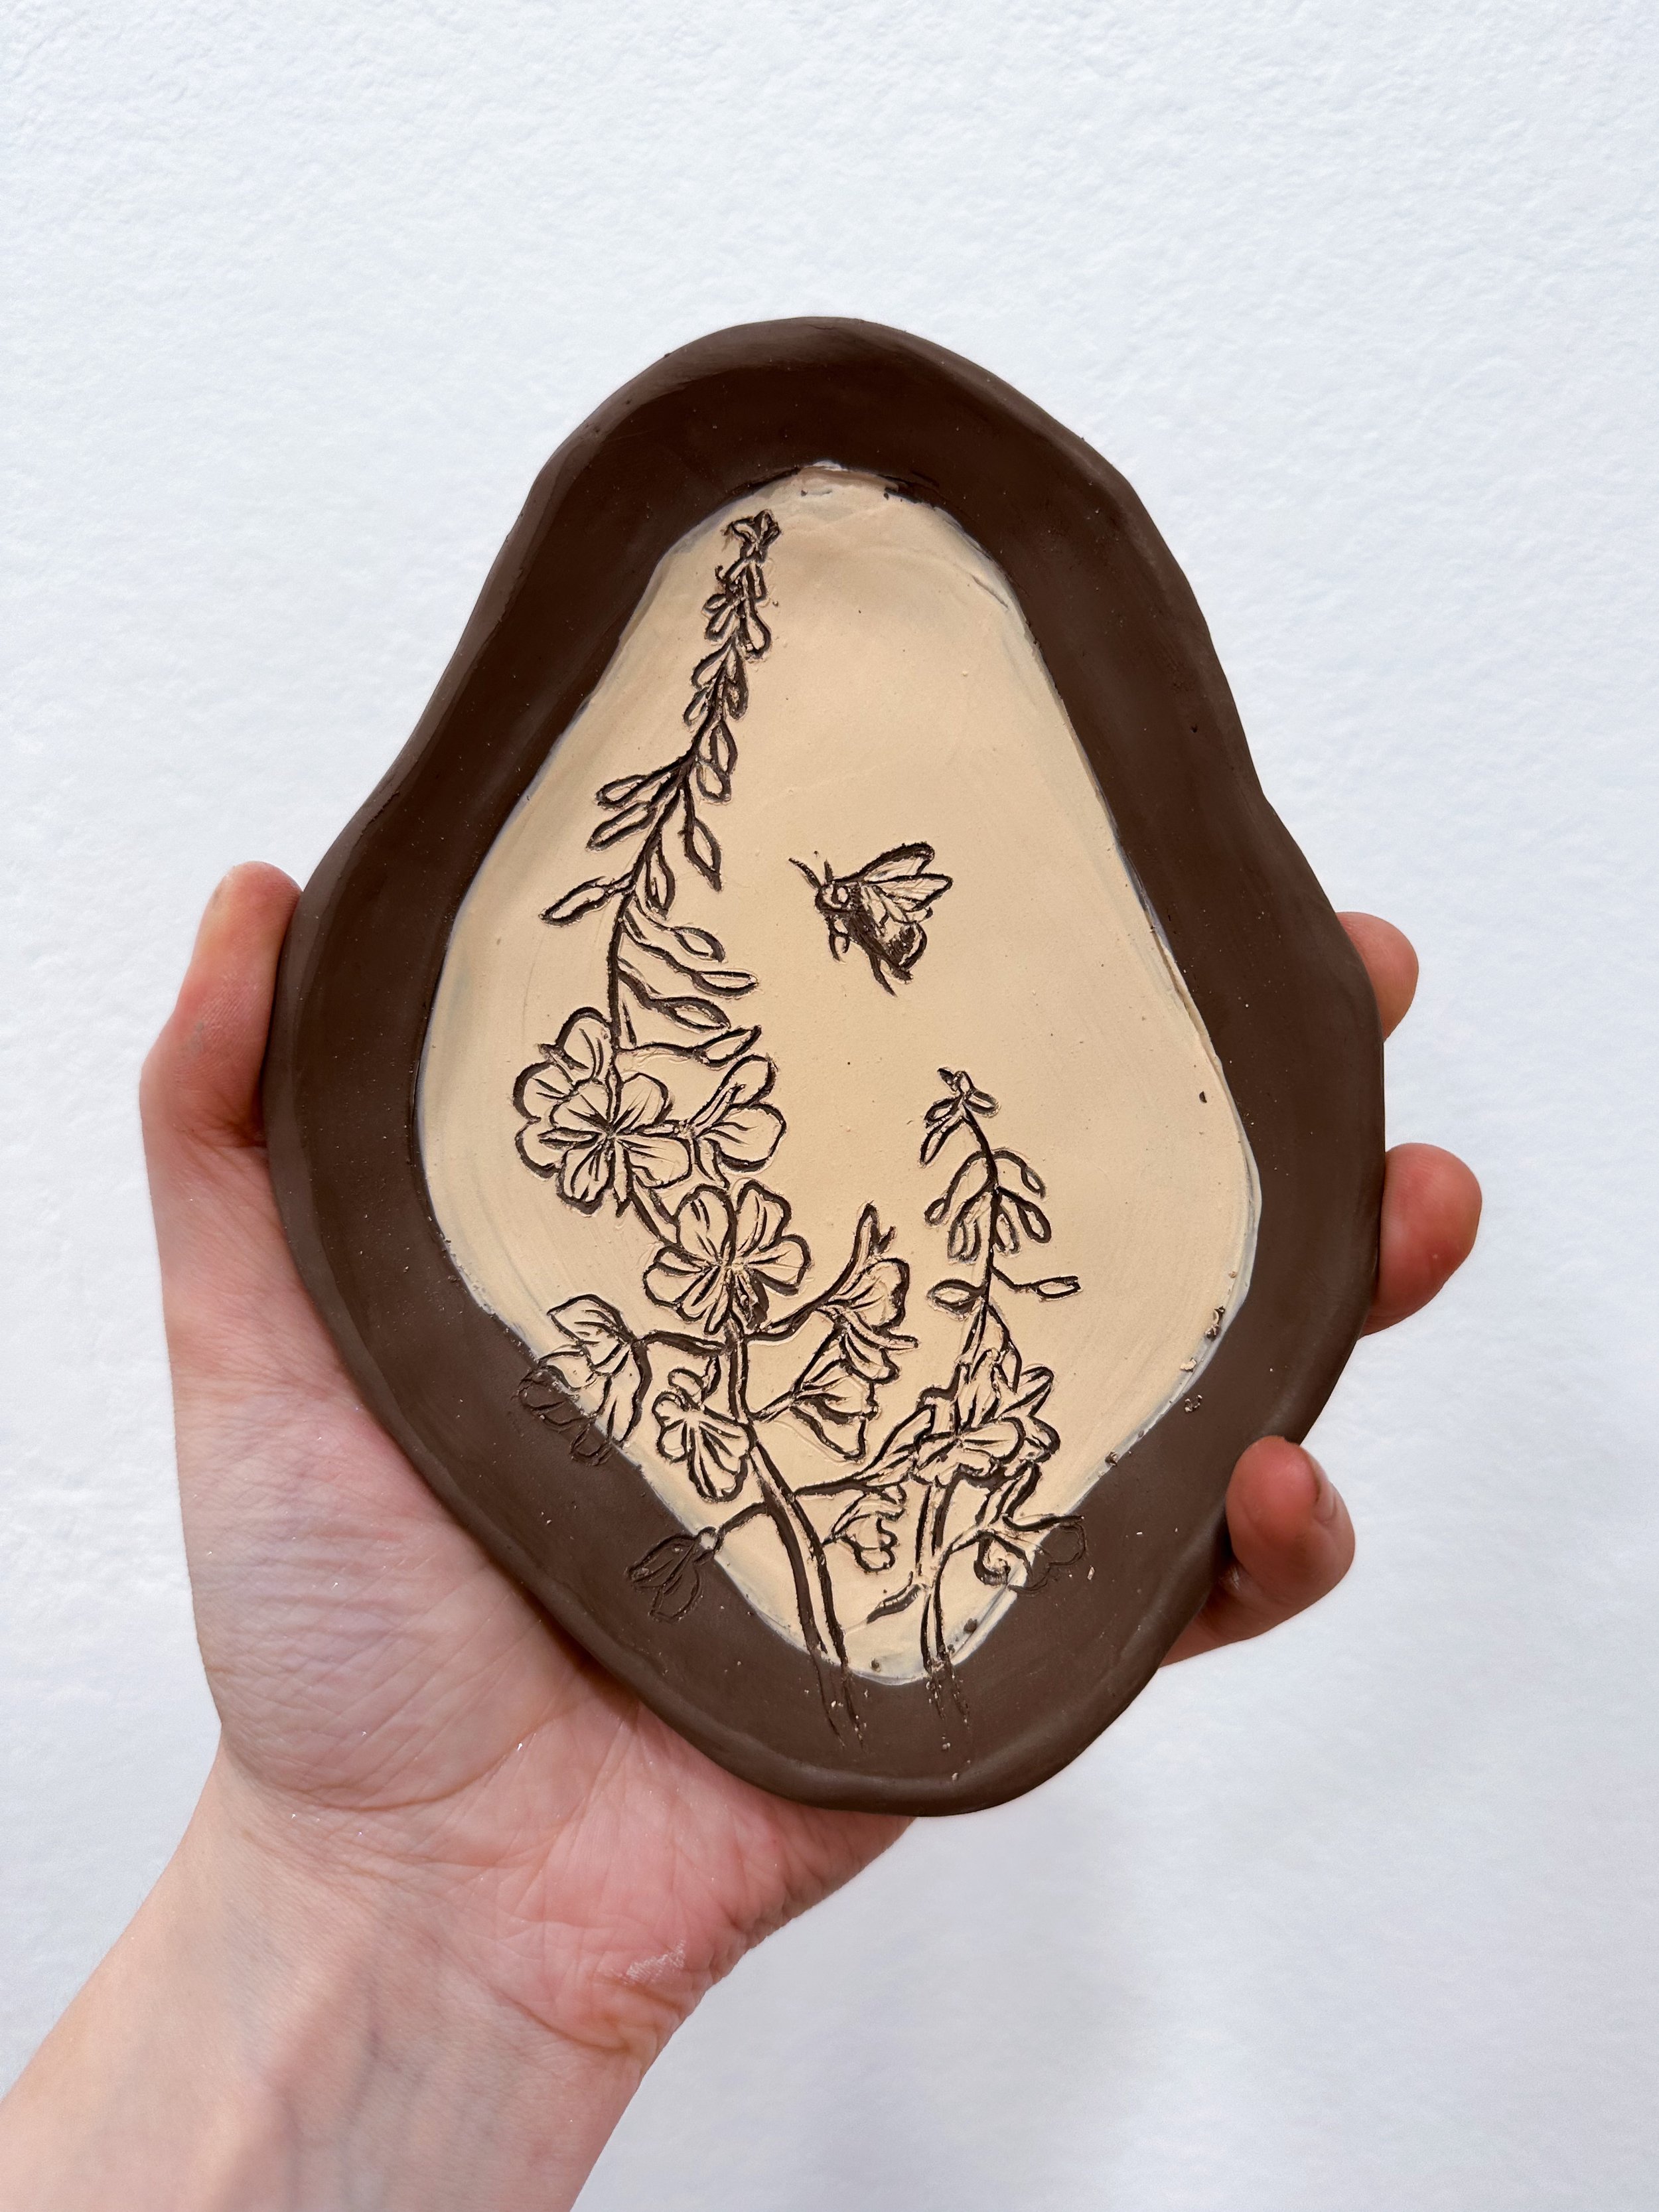
This is how a piece starts. Drawing a lot helps me not only understand animal anatomy but also allows me to design complex compositions quickly and effectively.

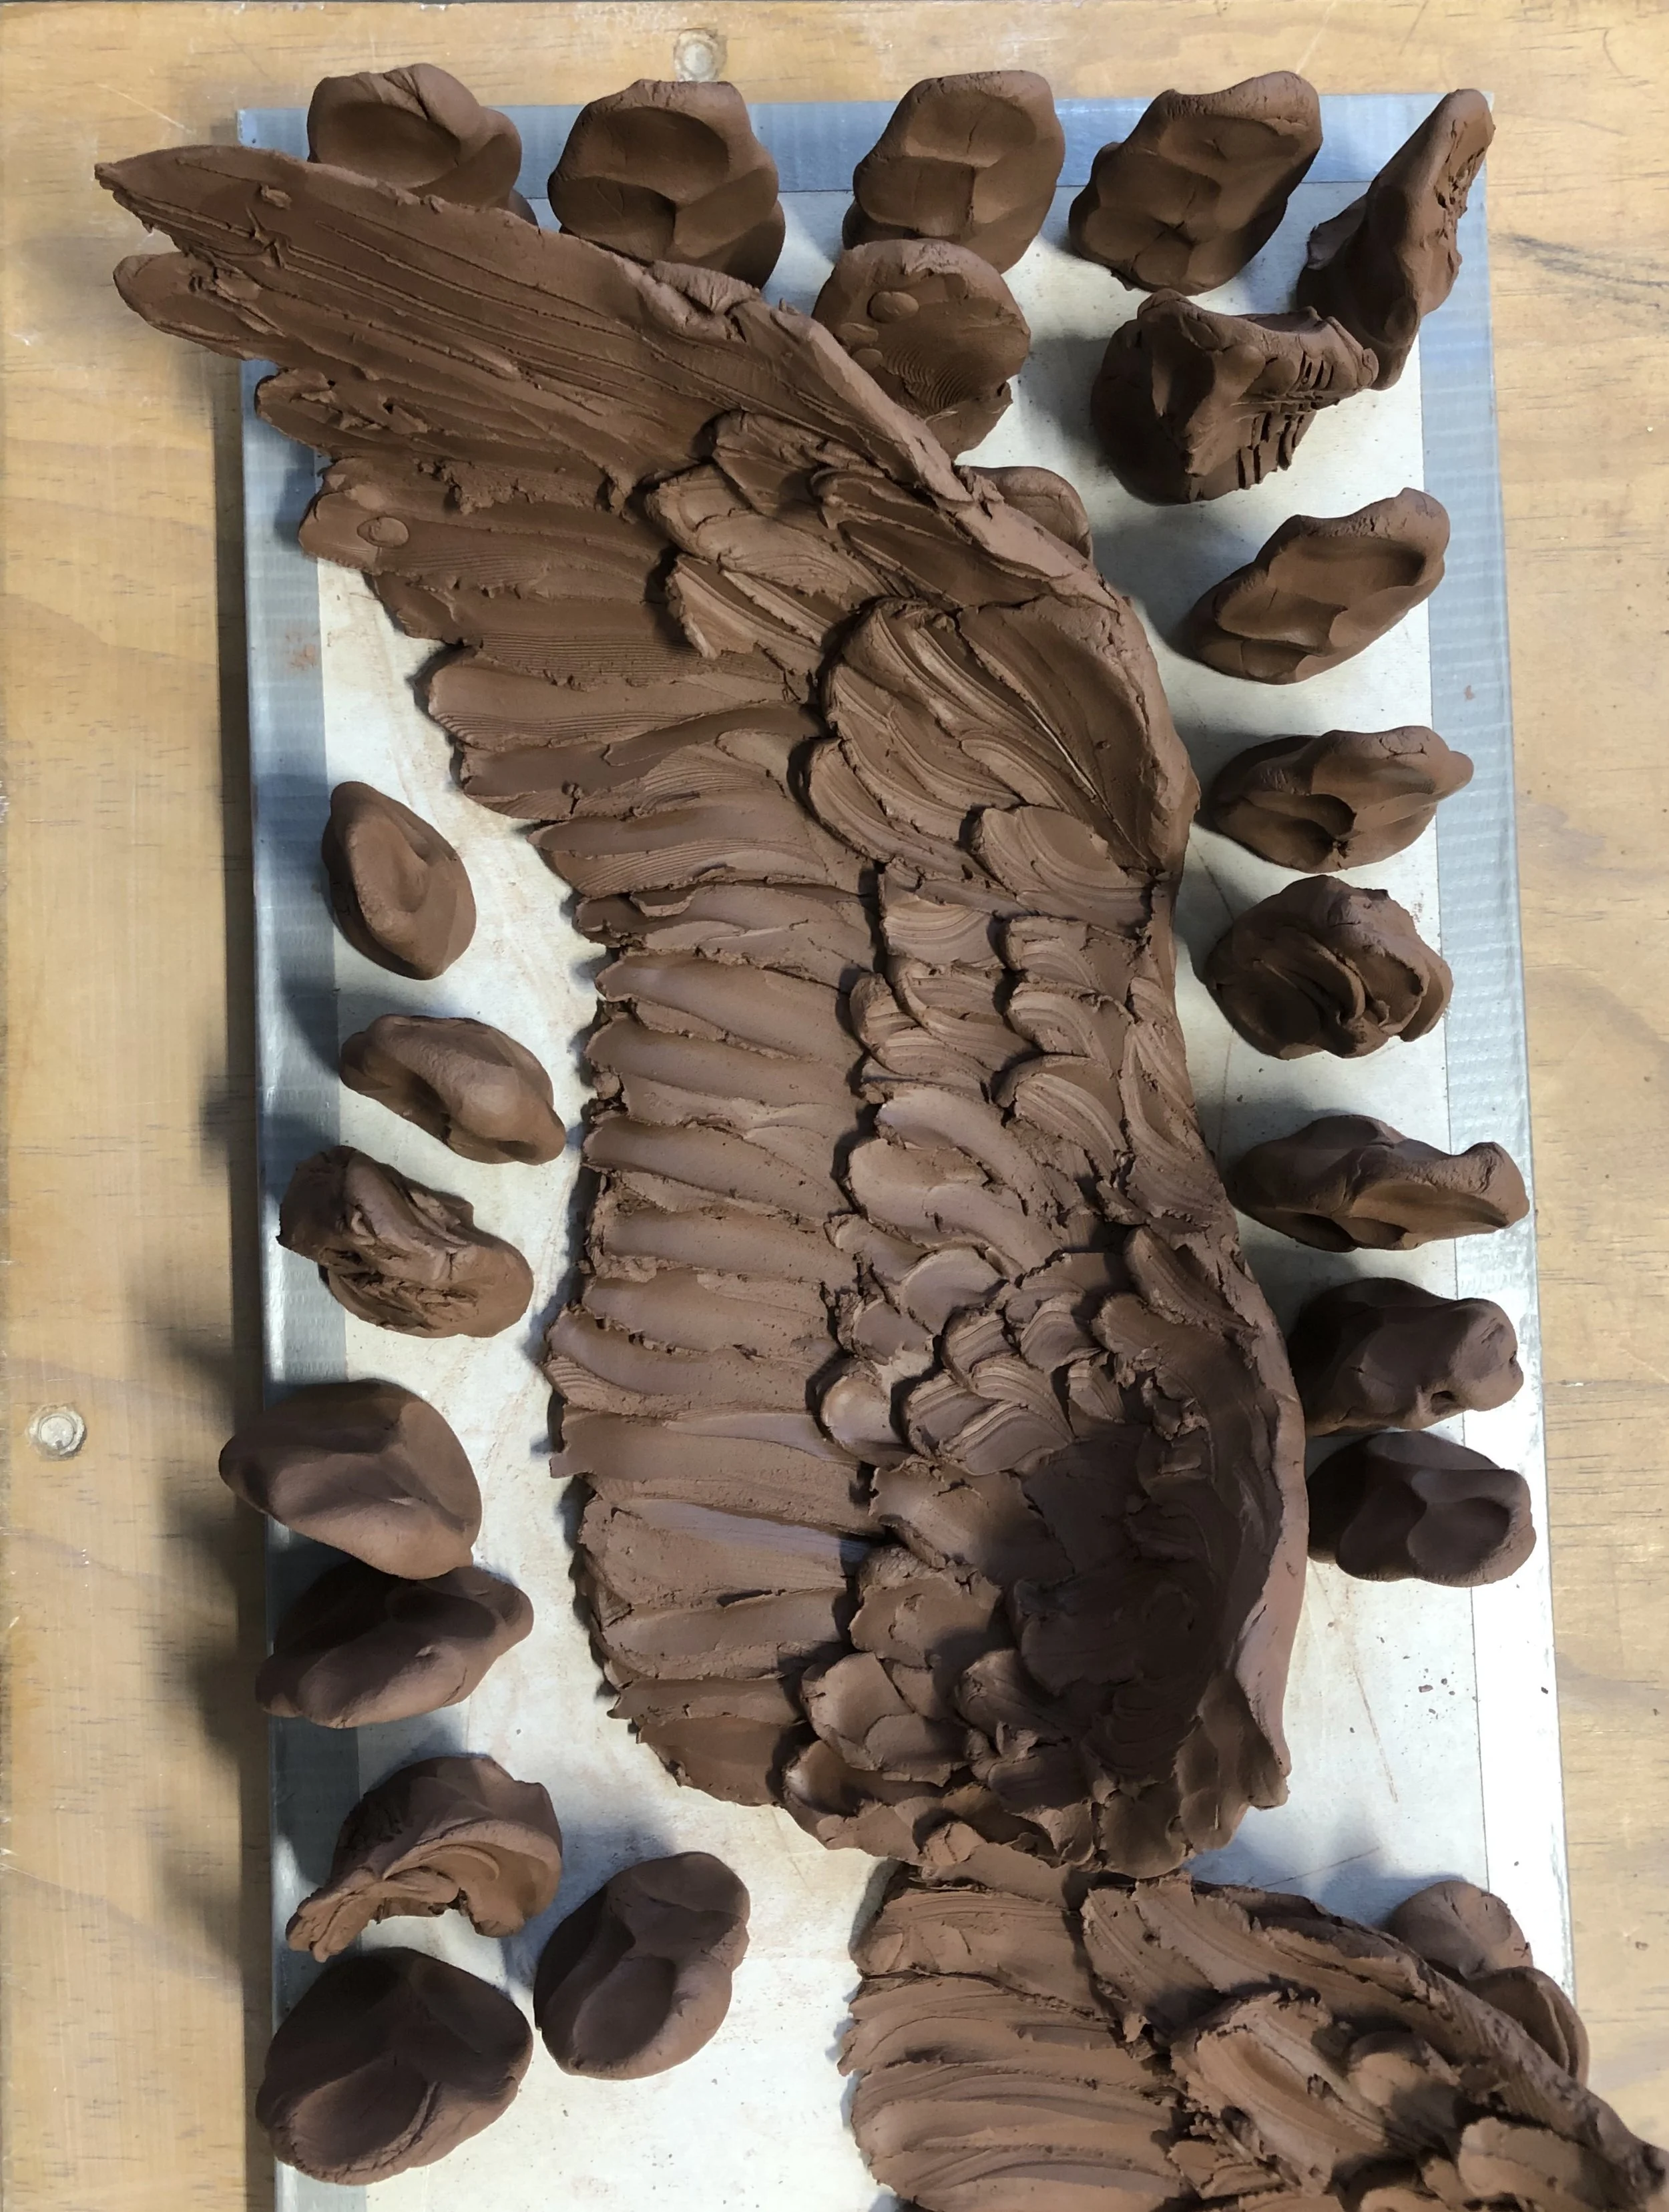
BUILDING
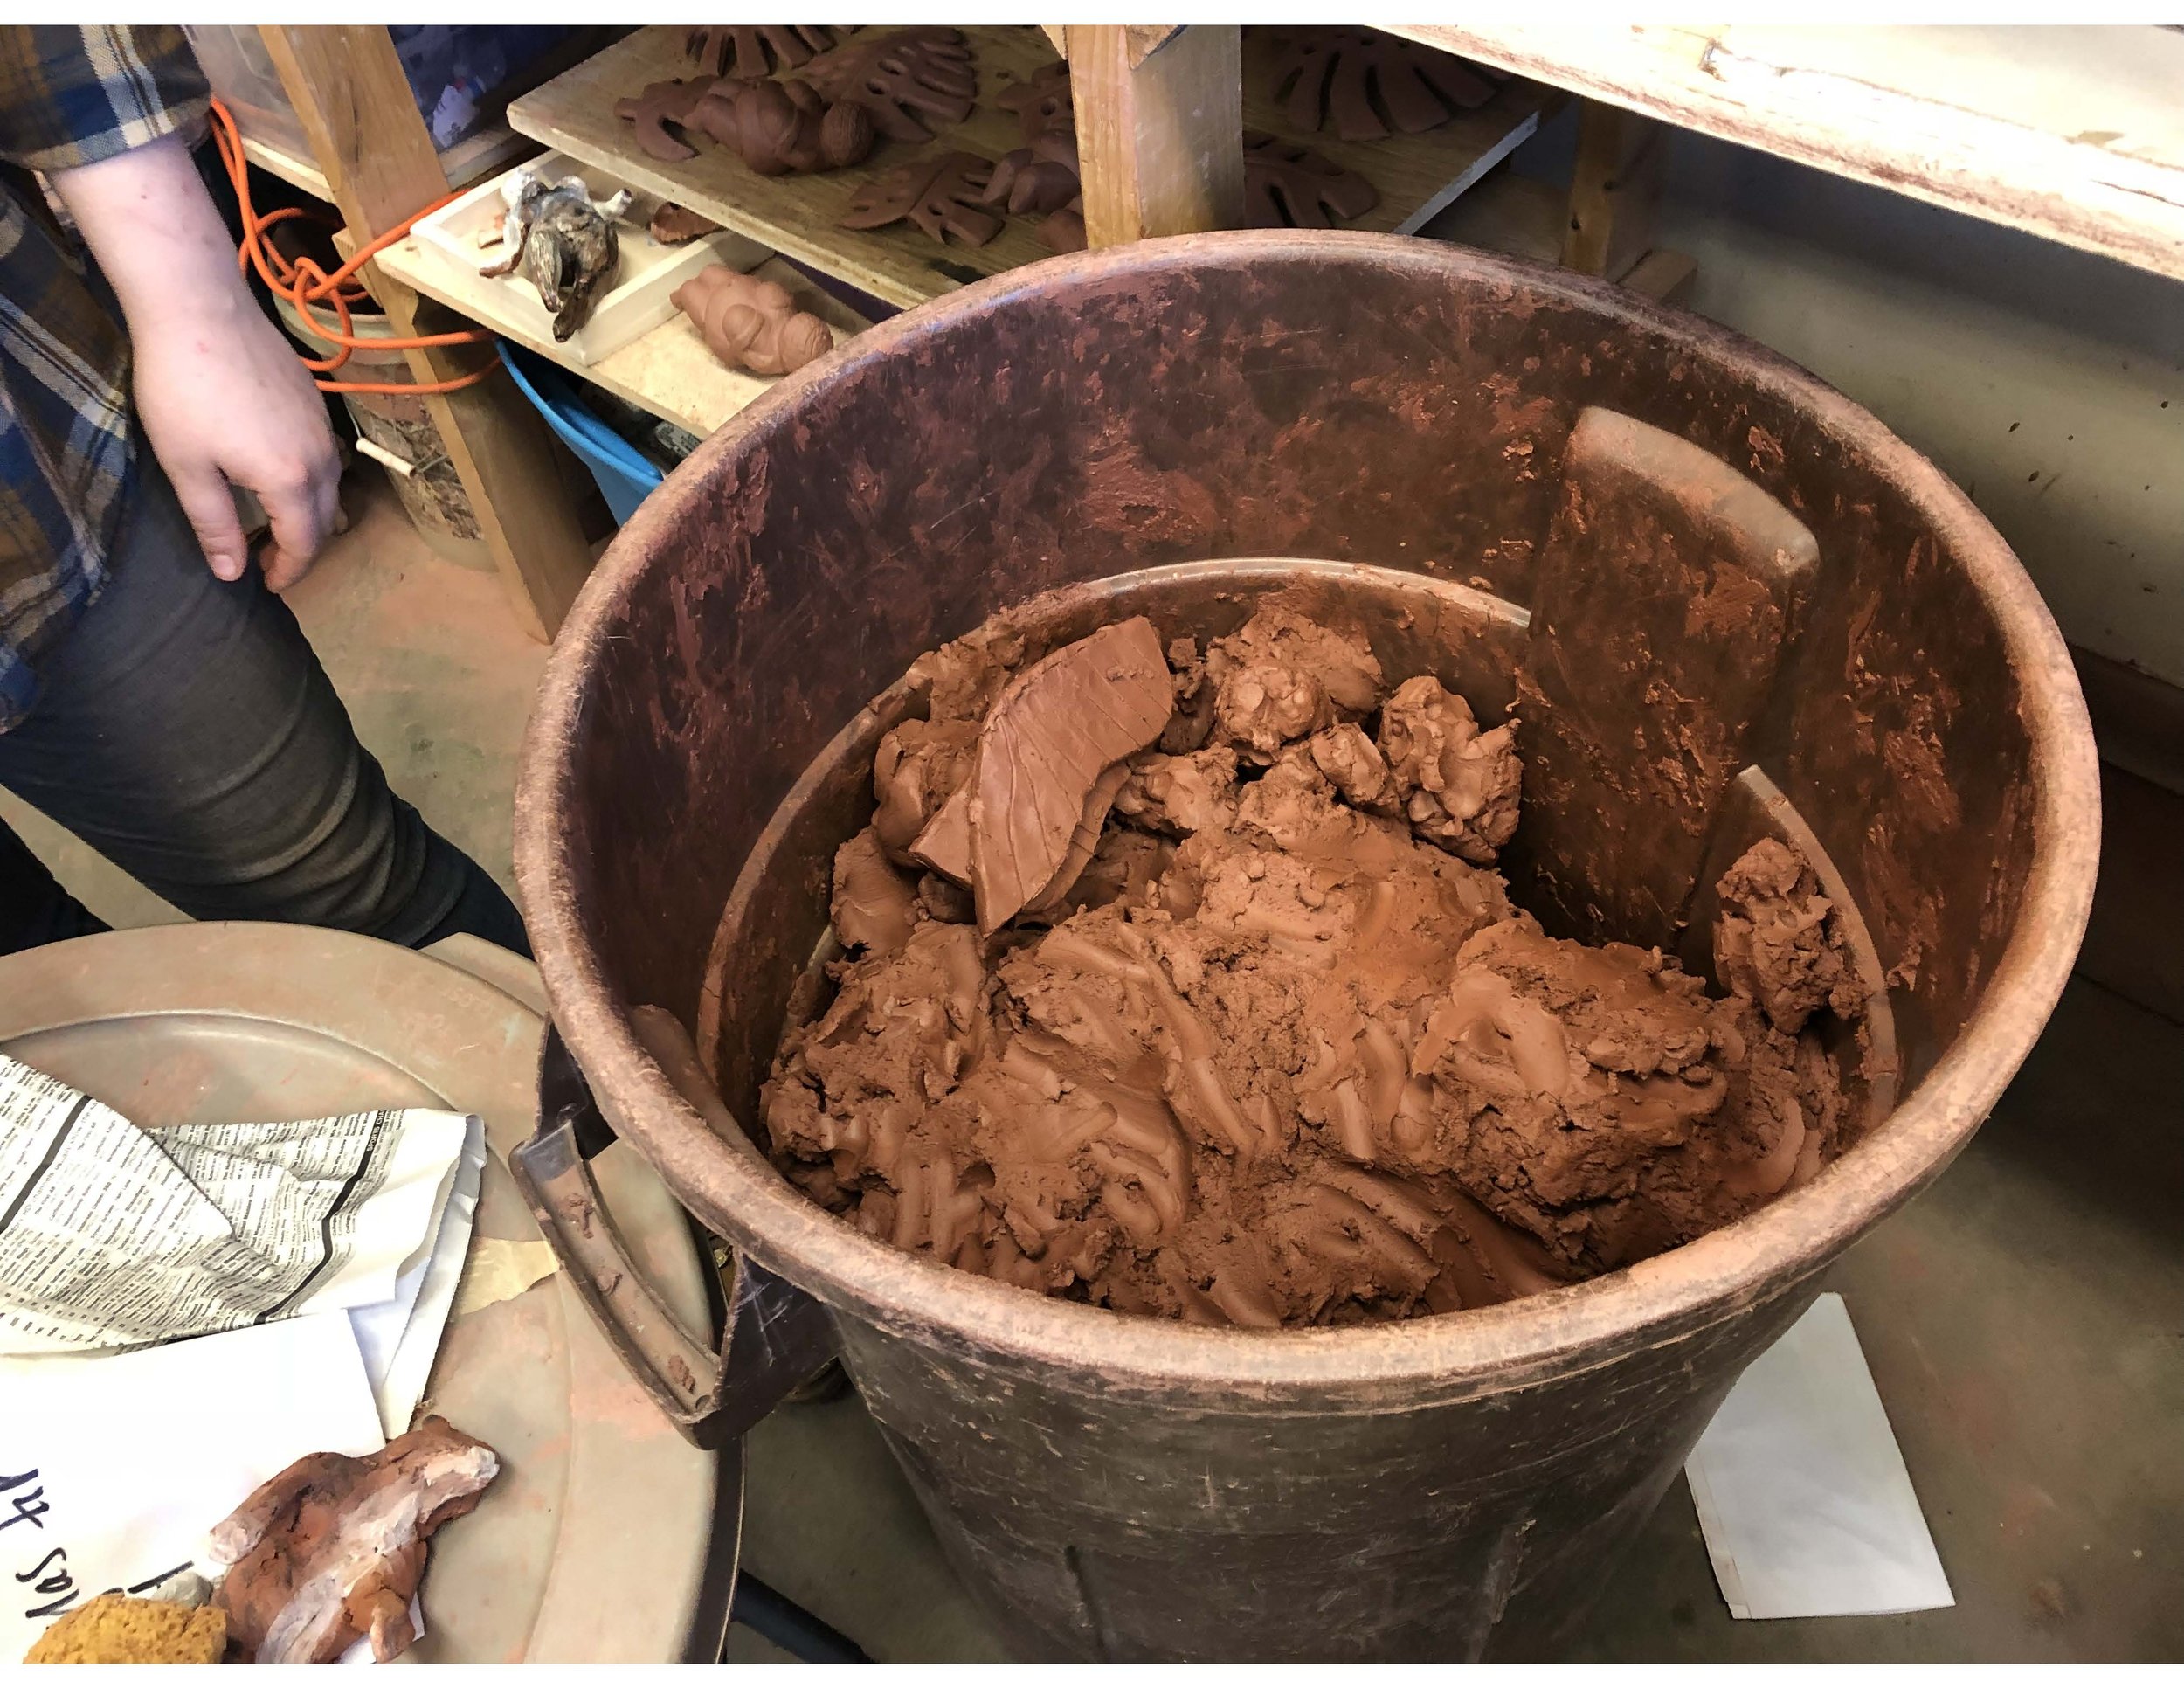
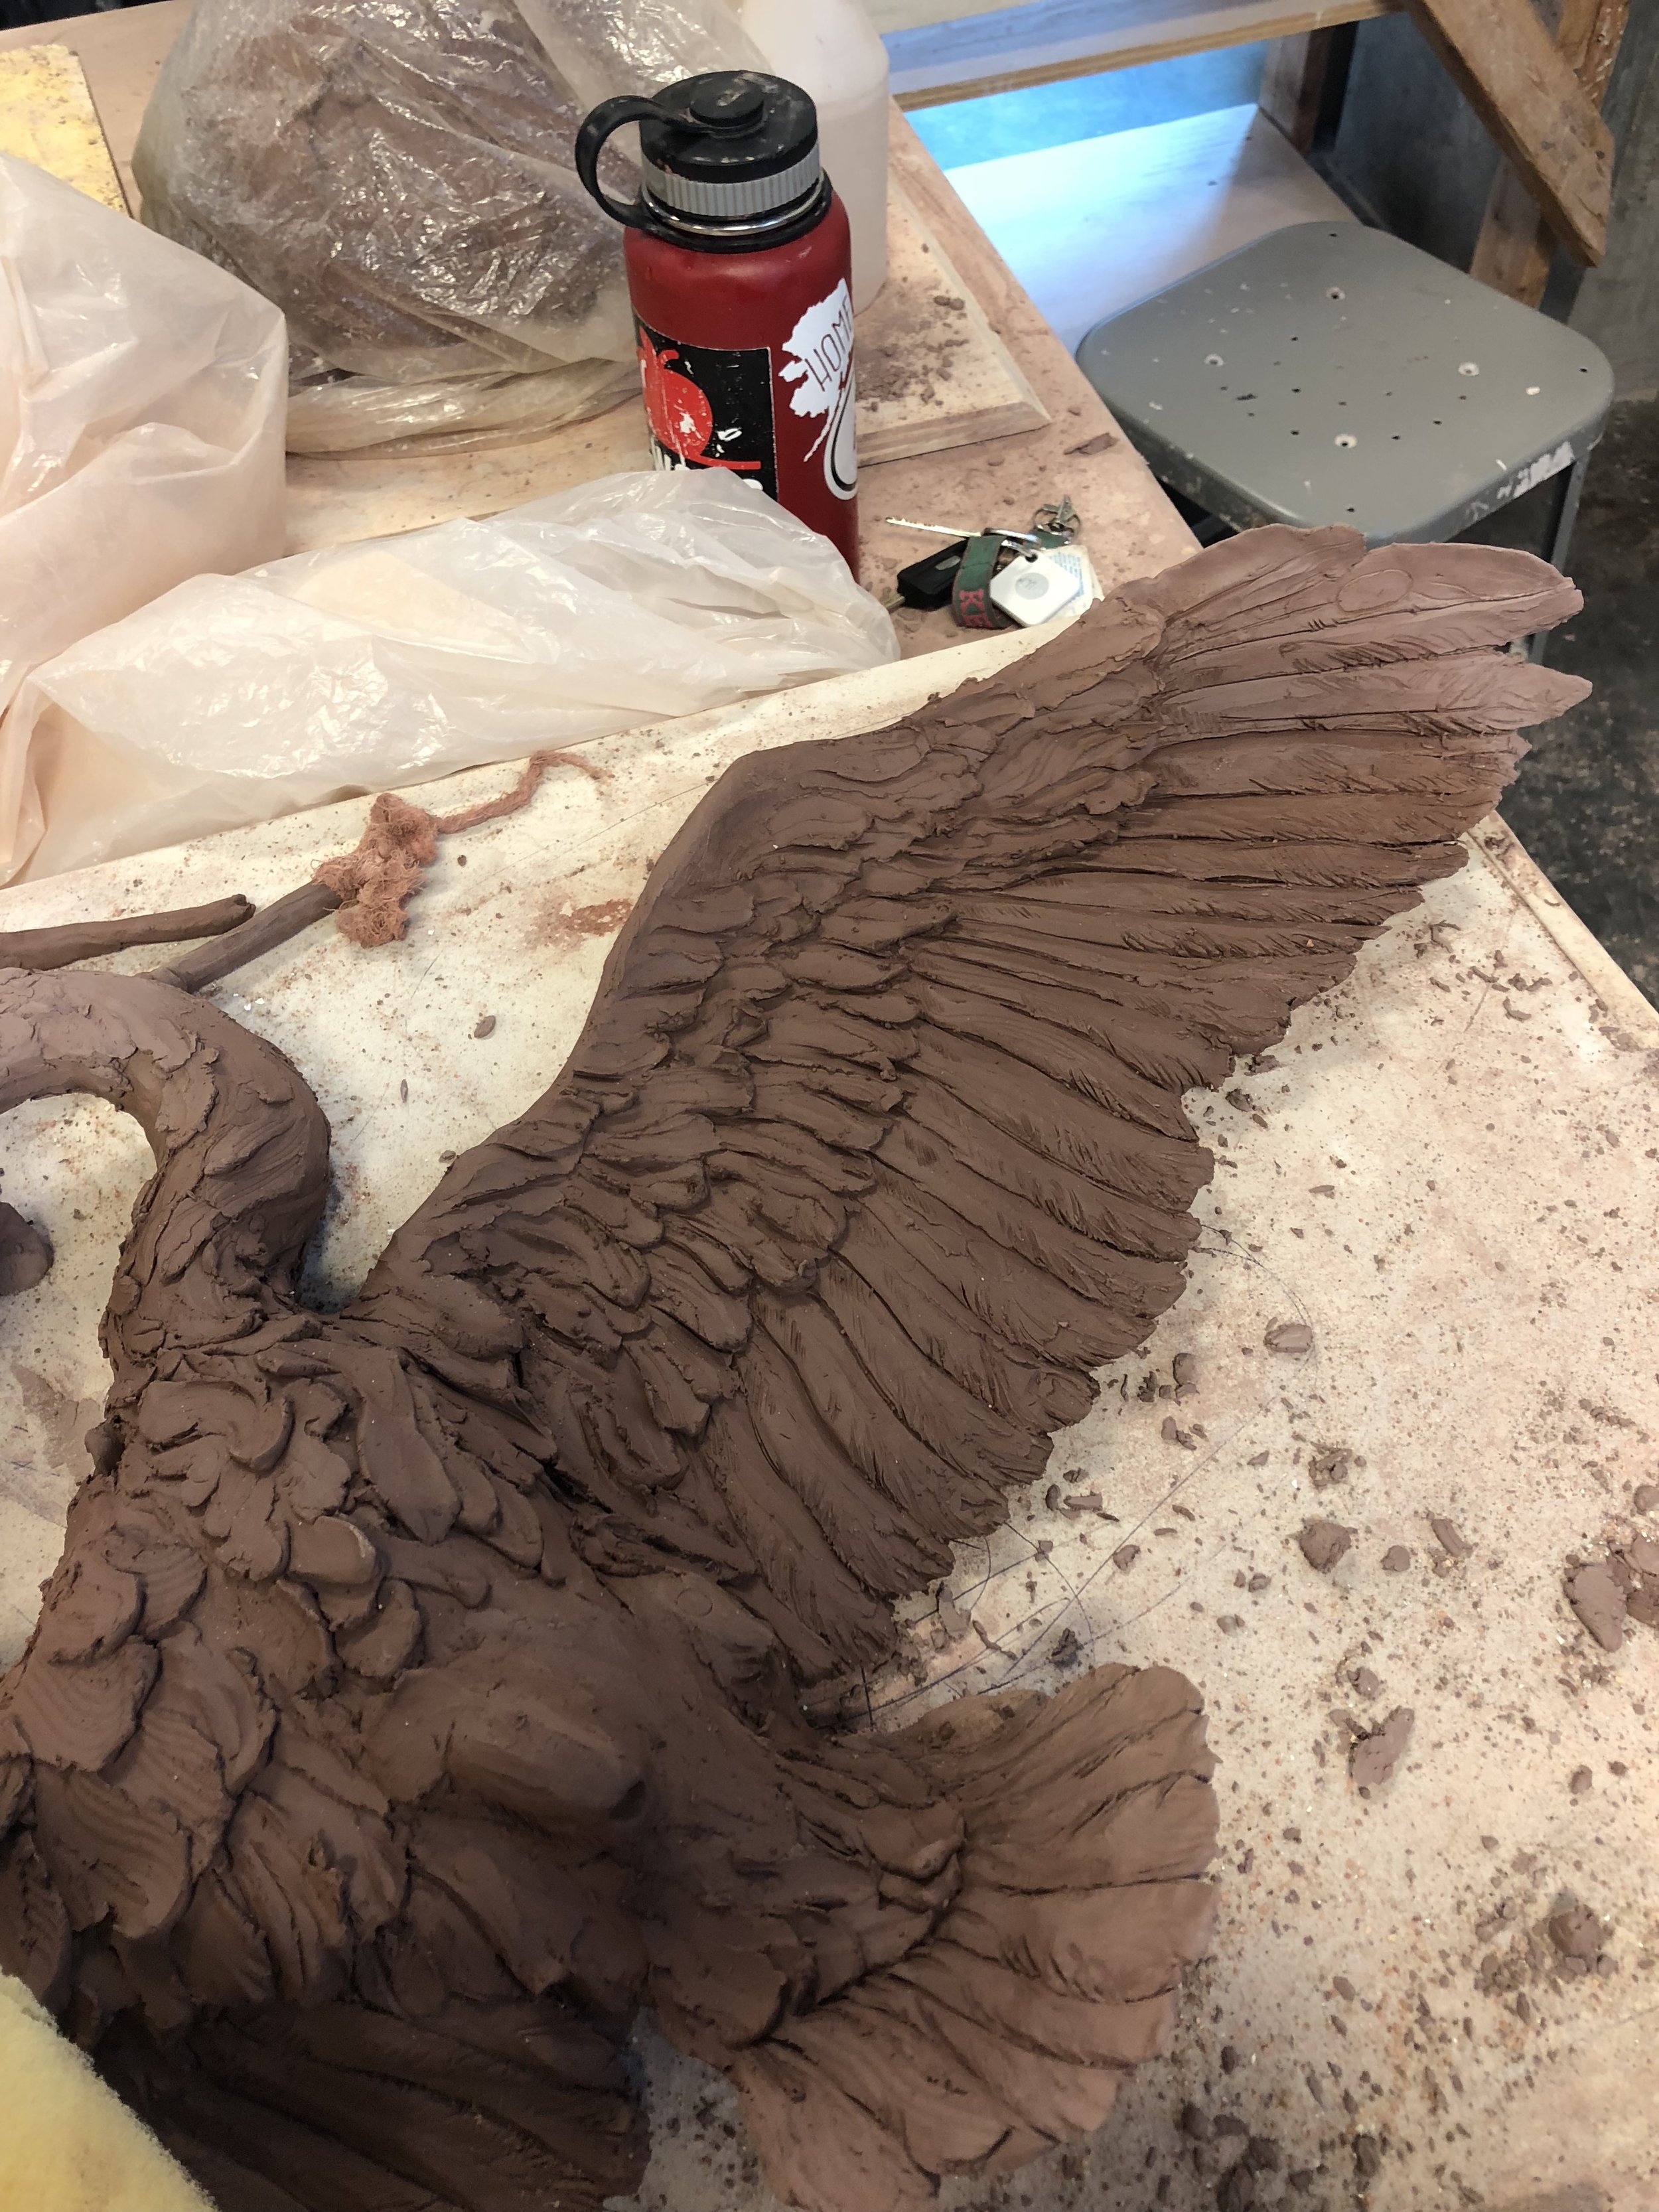
I use a low-fire earthenware clay. Earthenware is iron rich and produces beautiful colors ranging from orange to red to brown when fired.
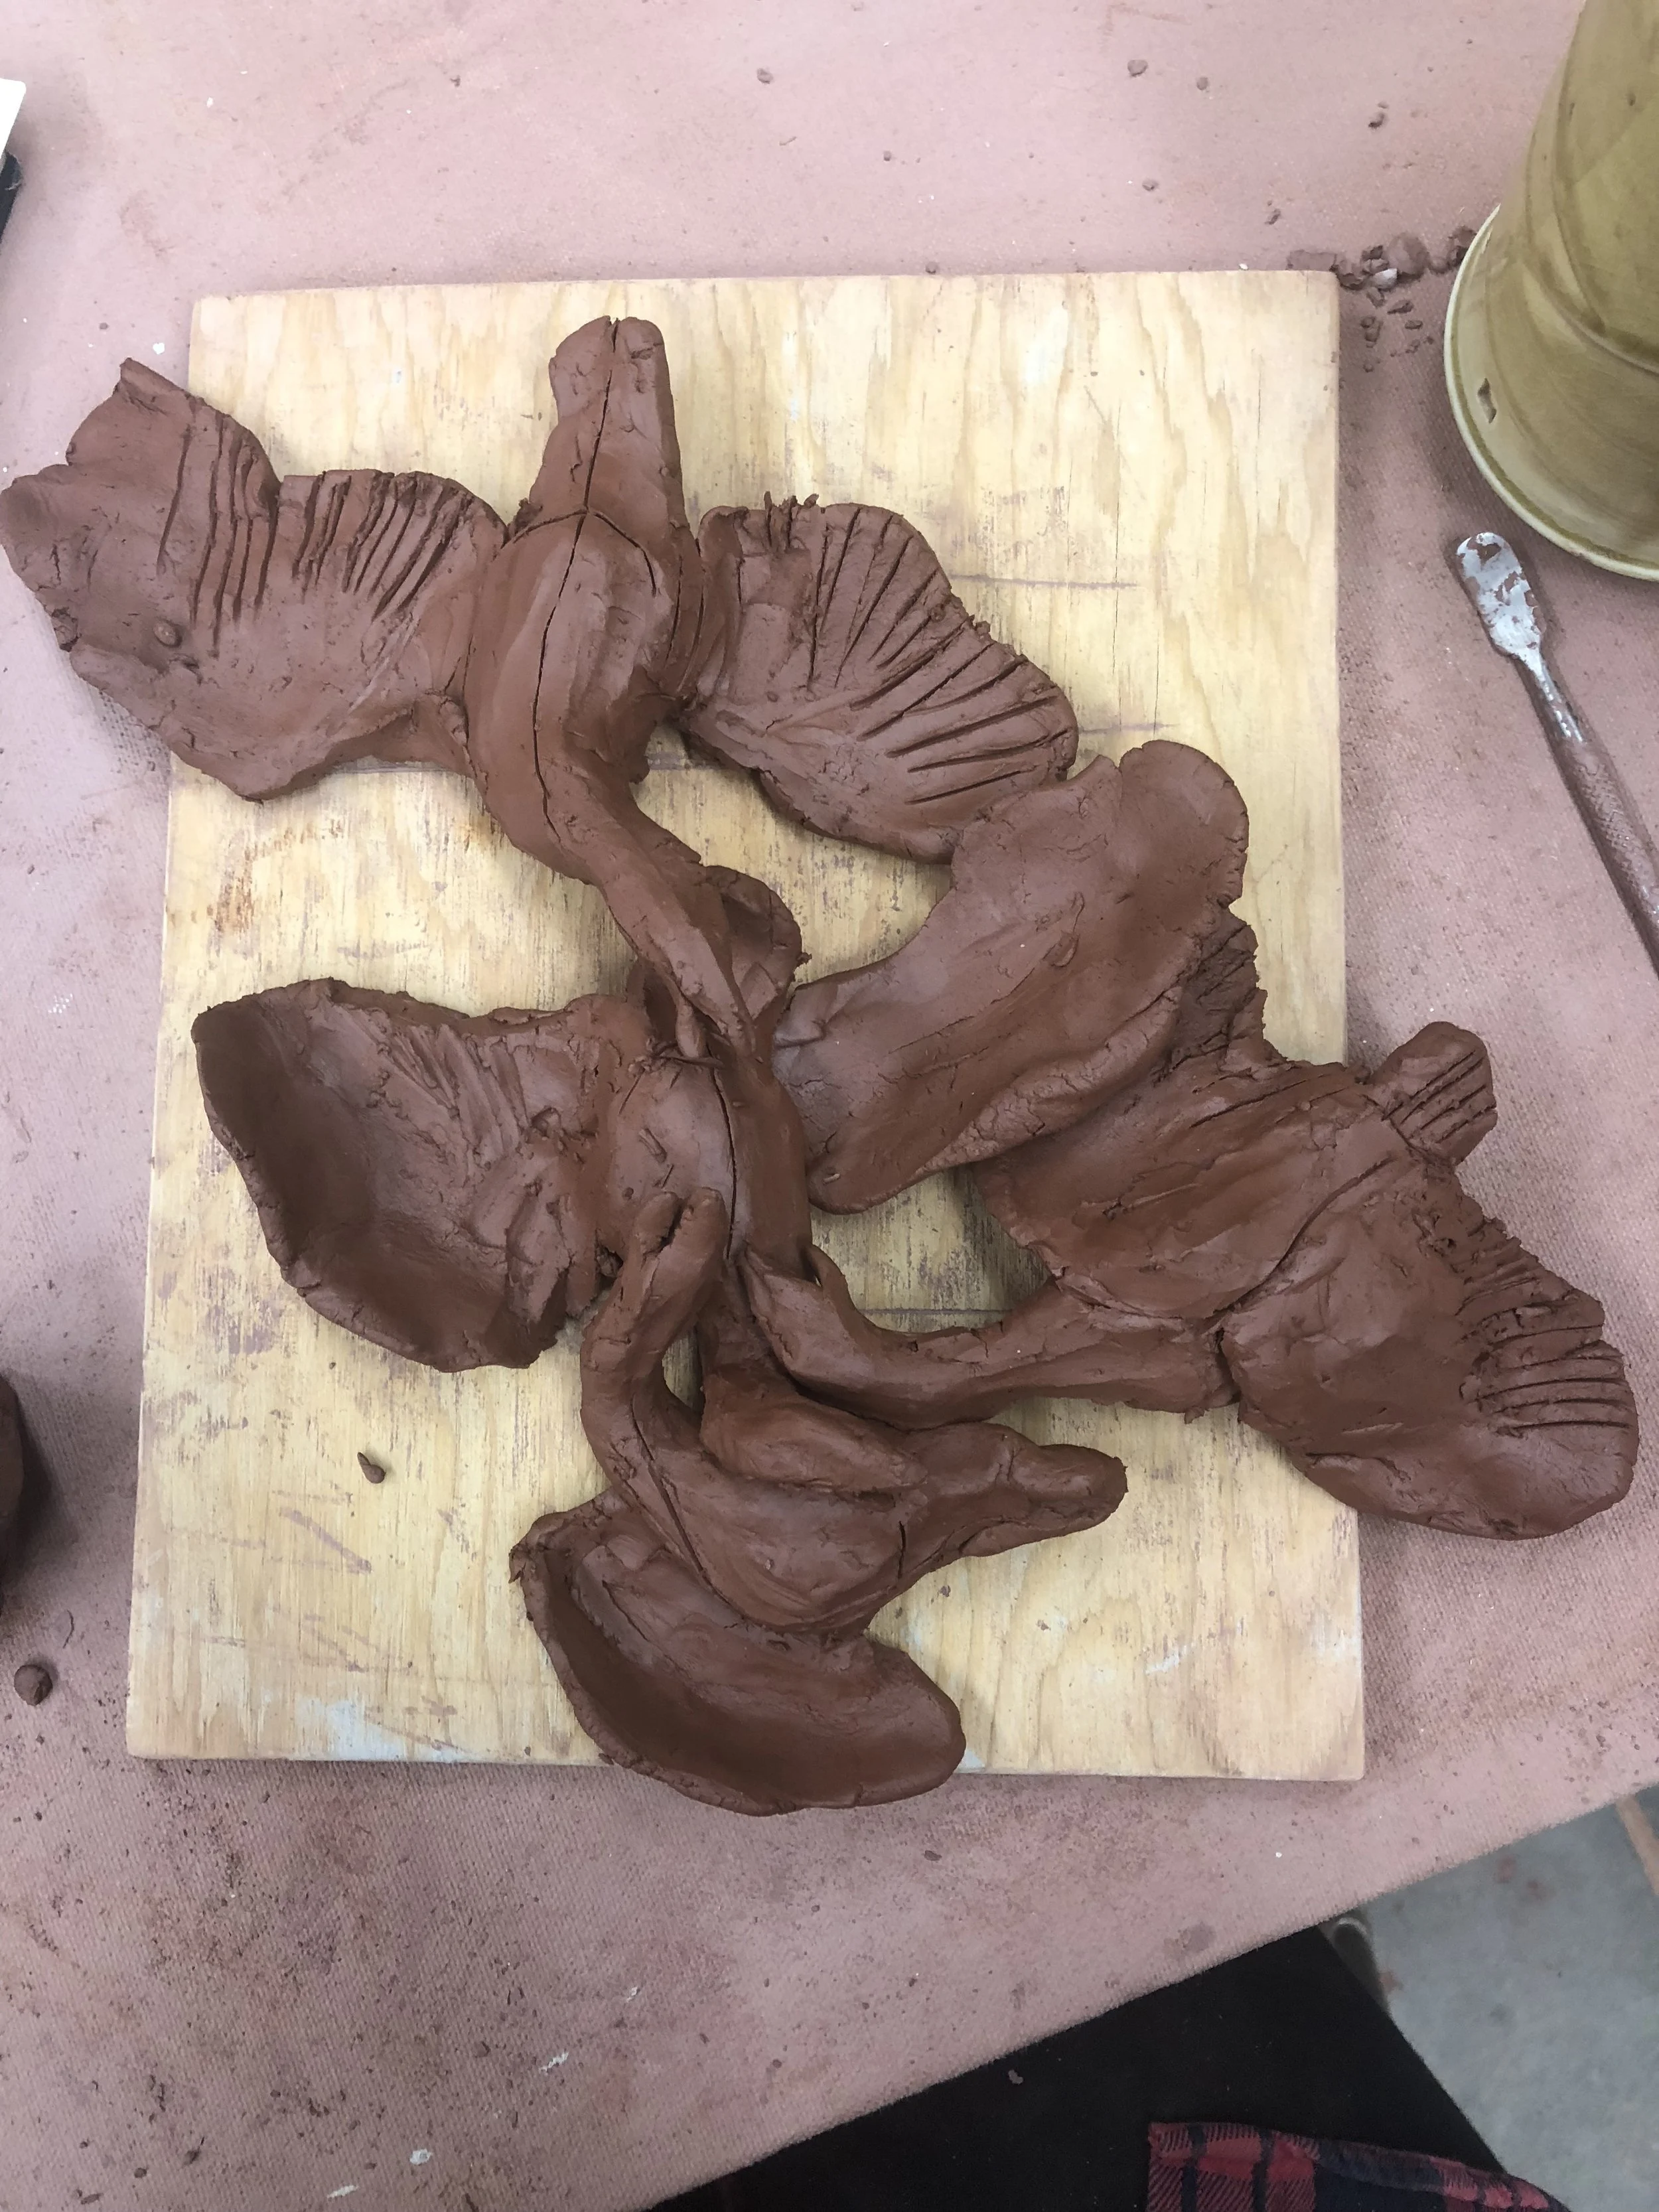
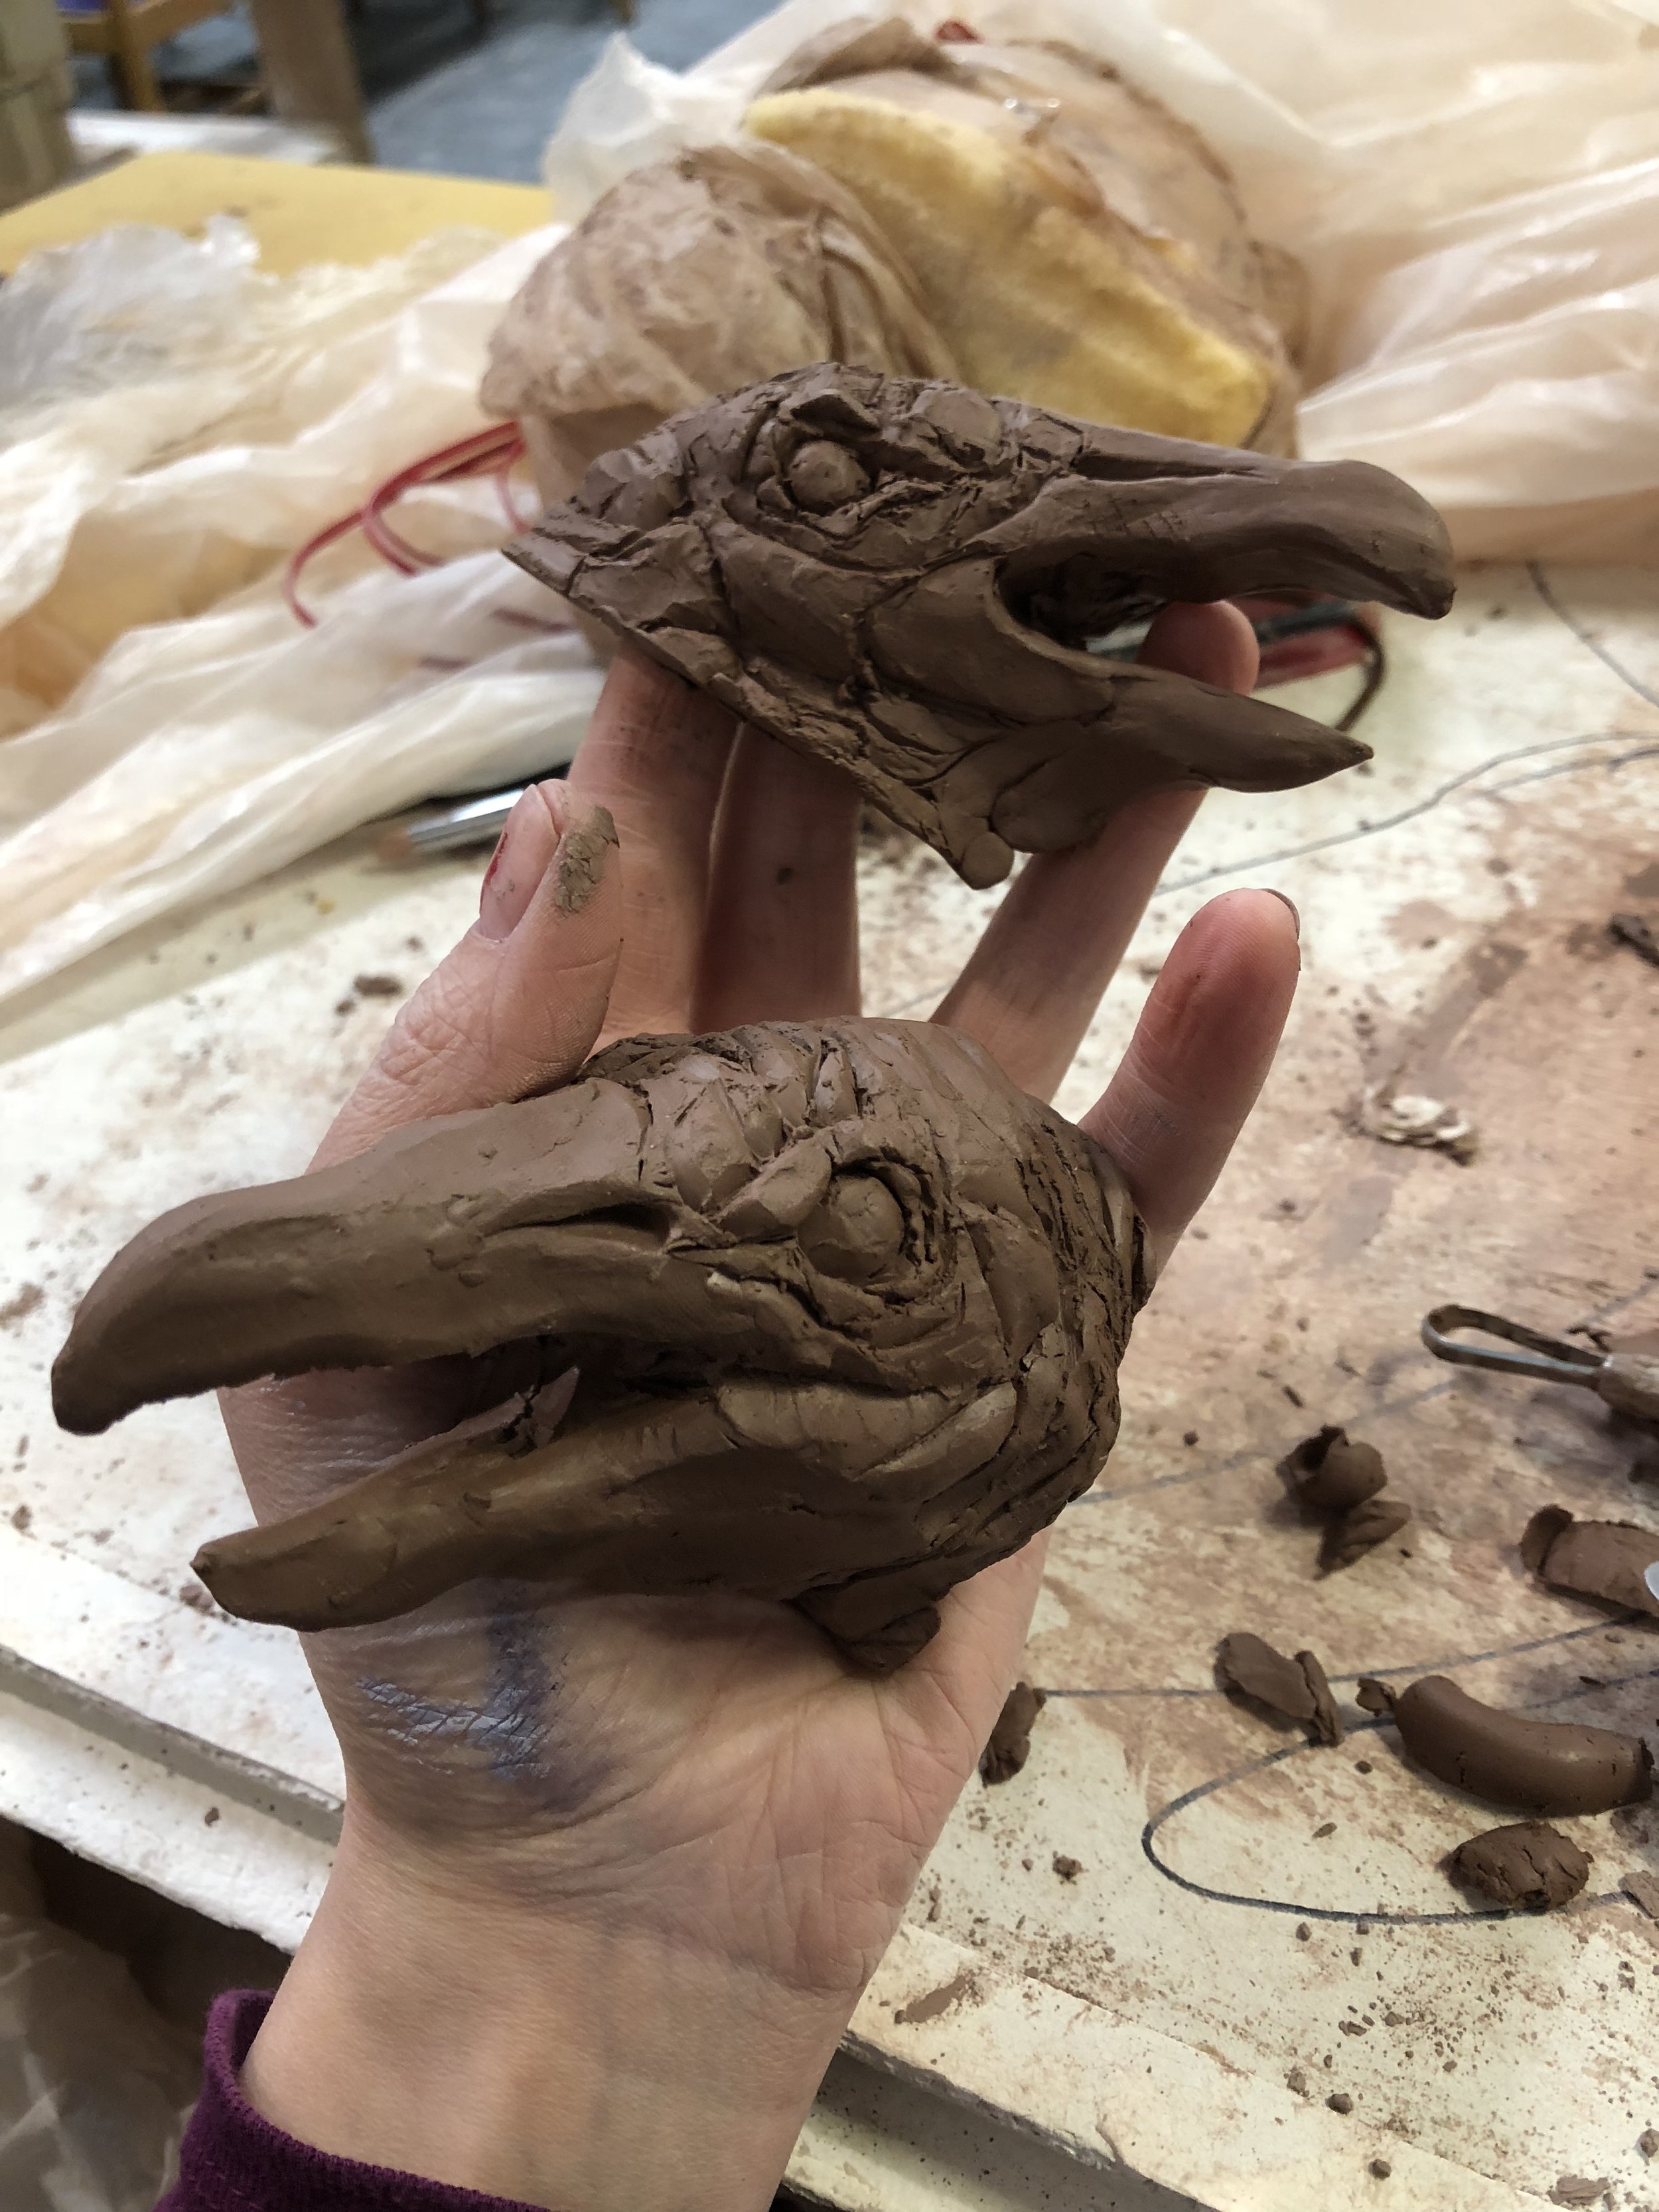
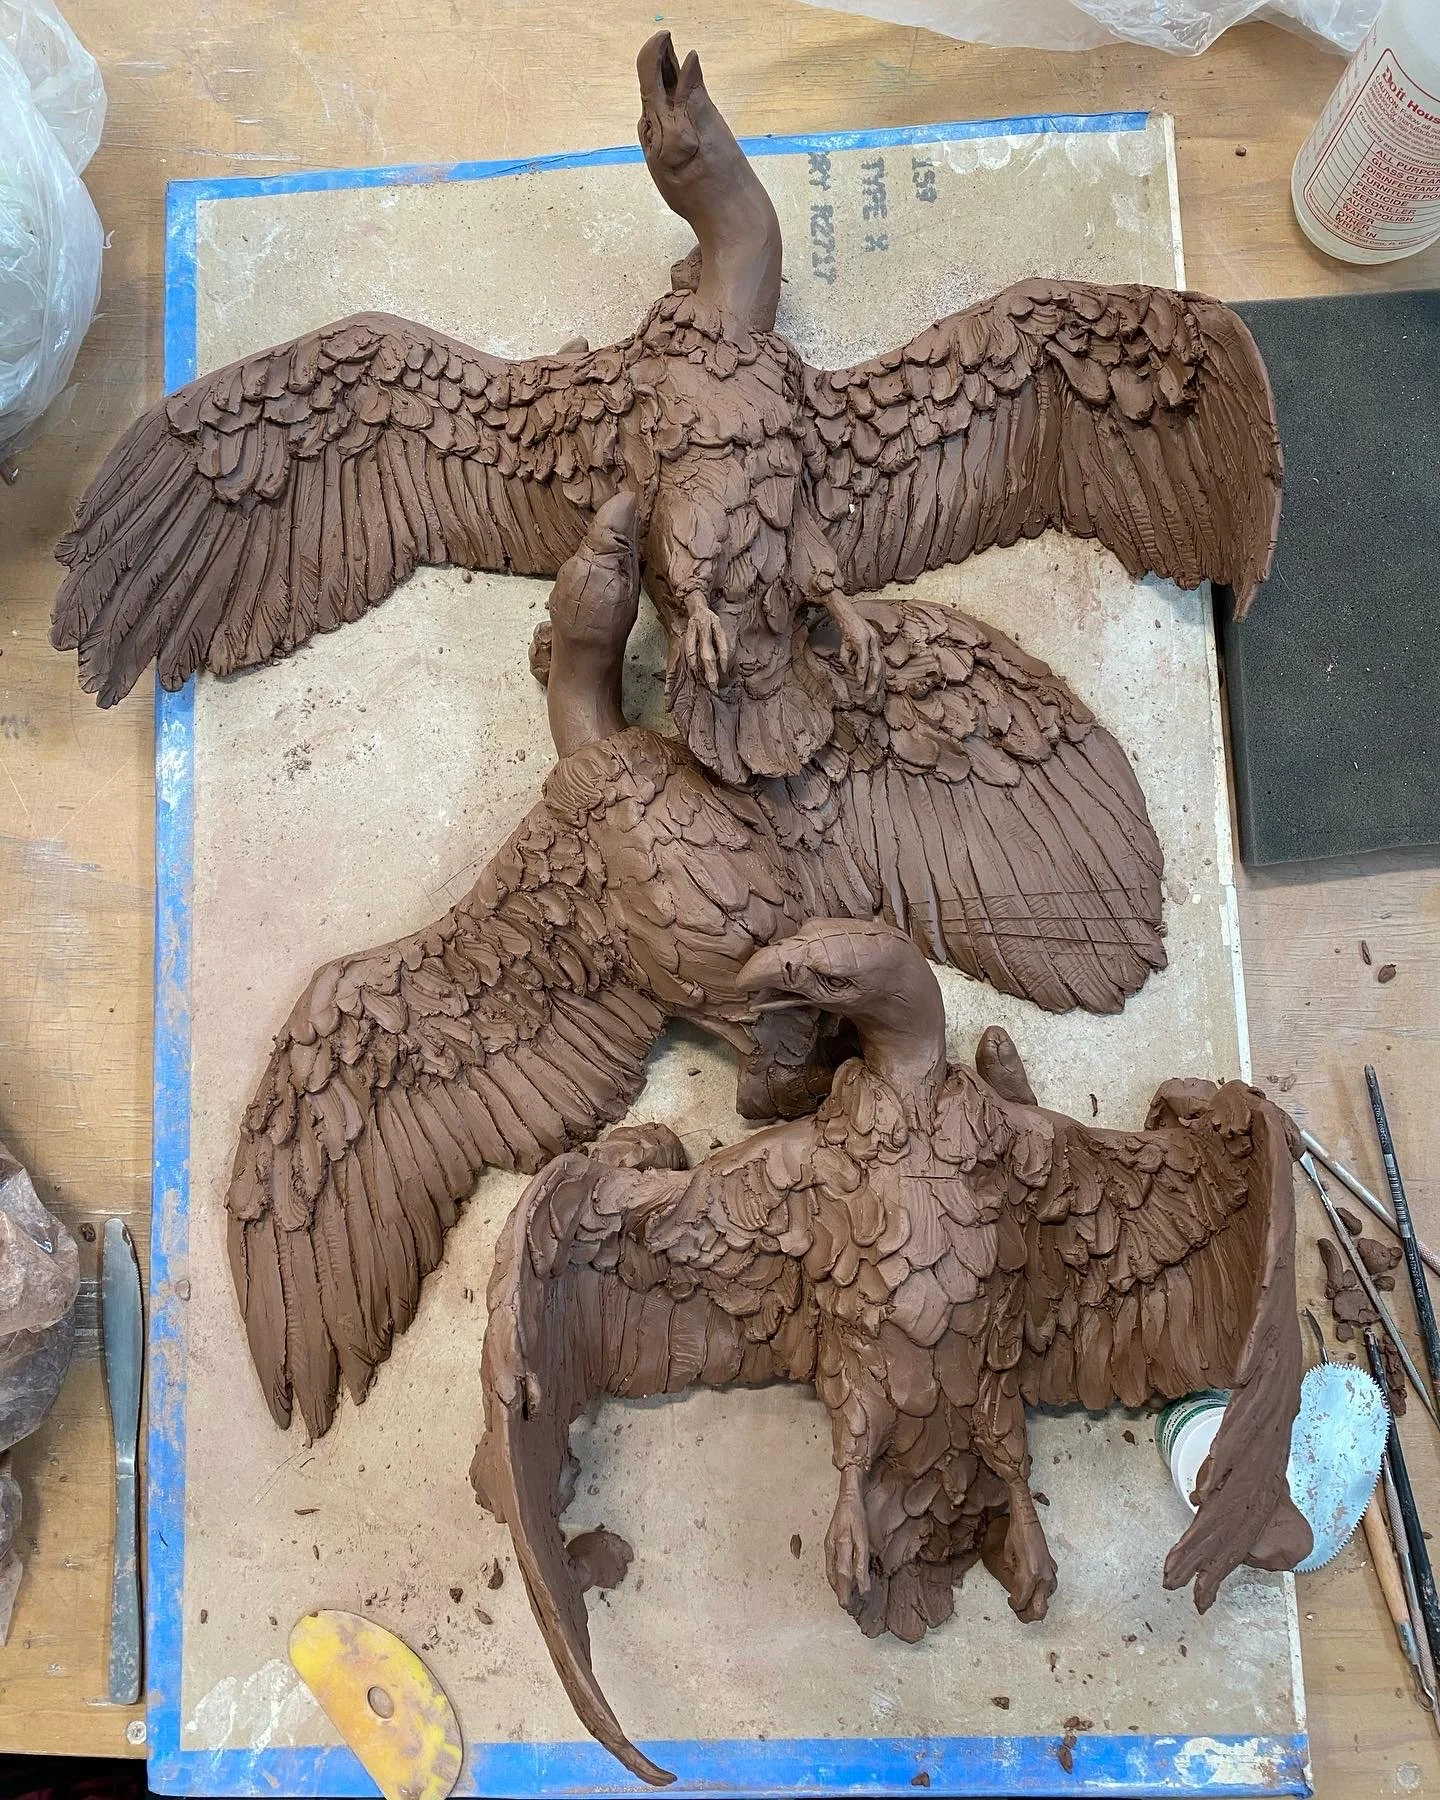
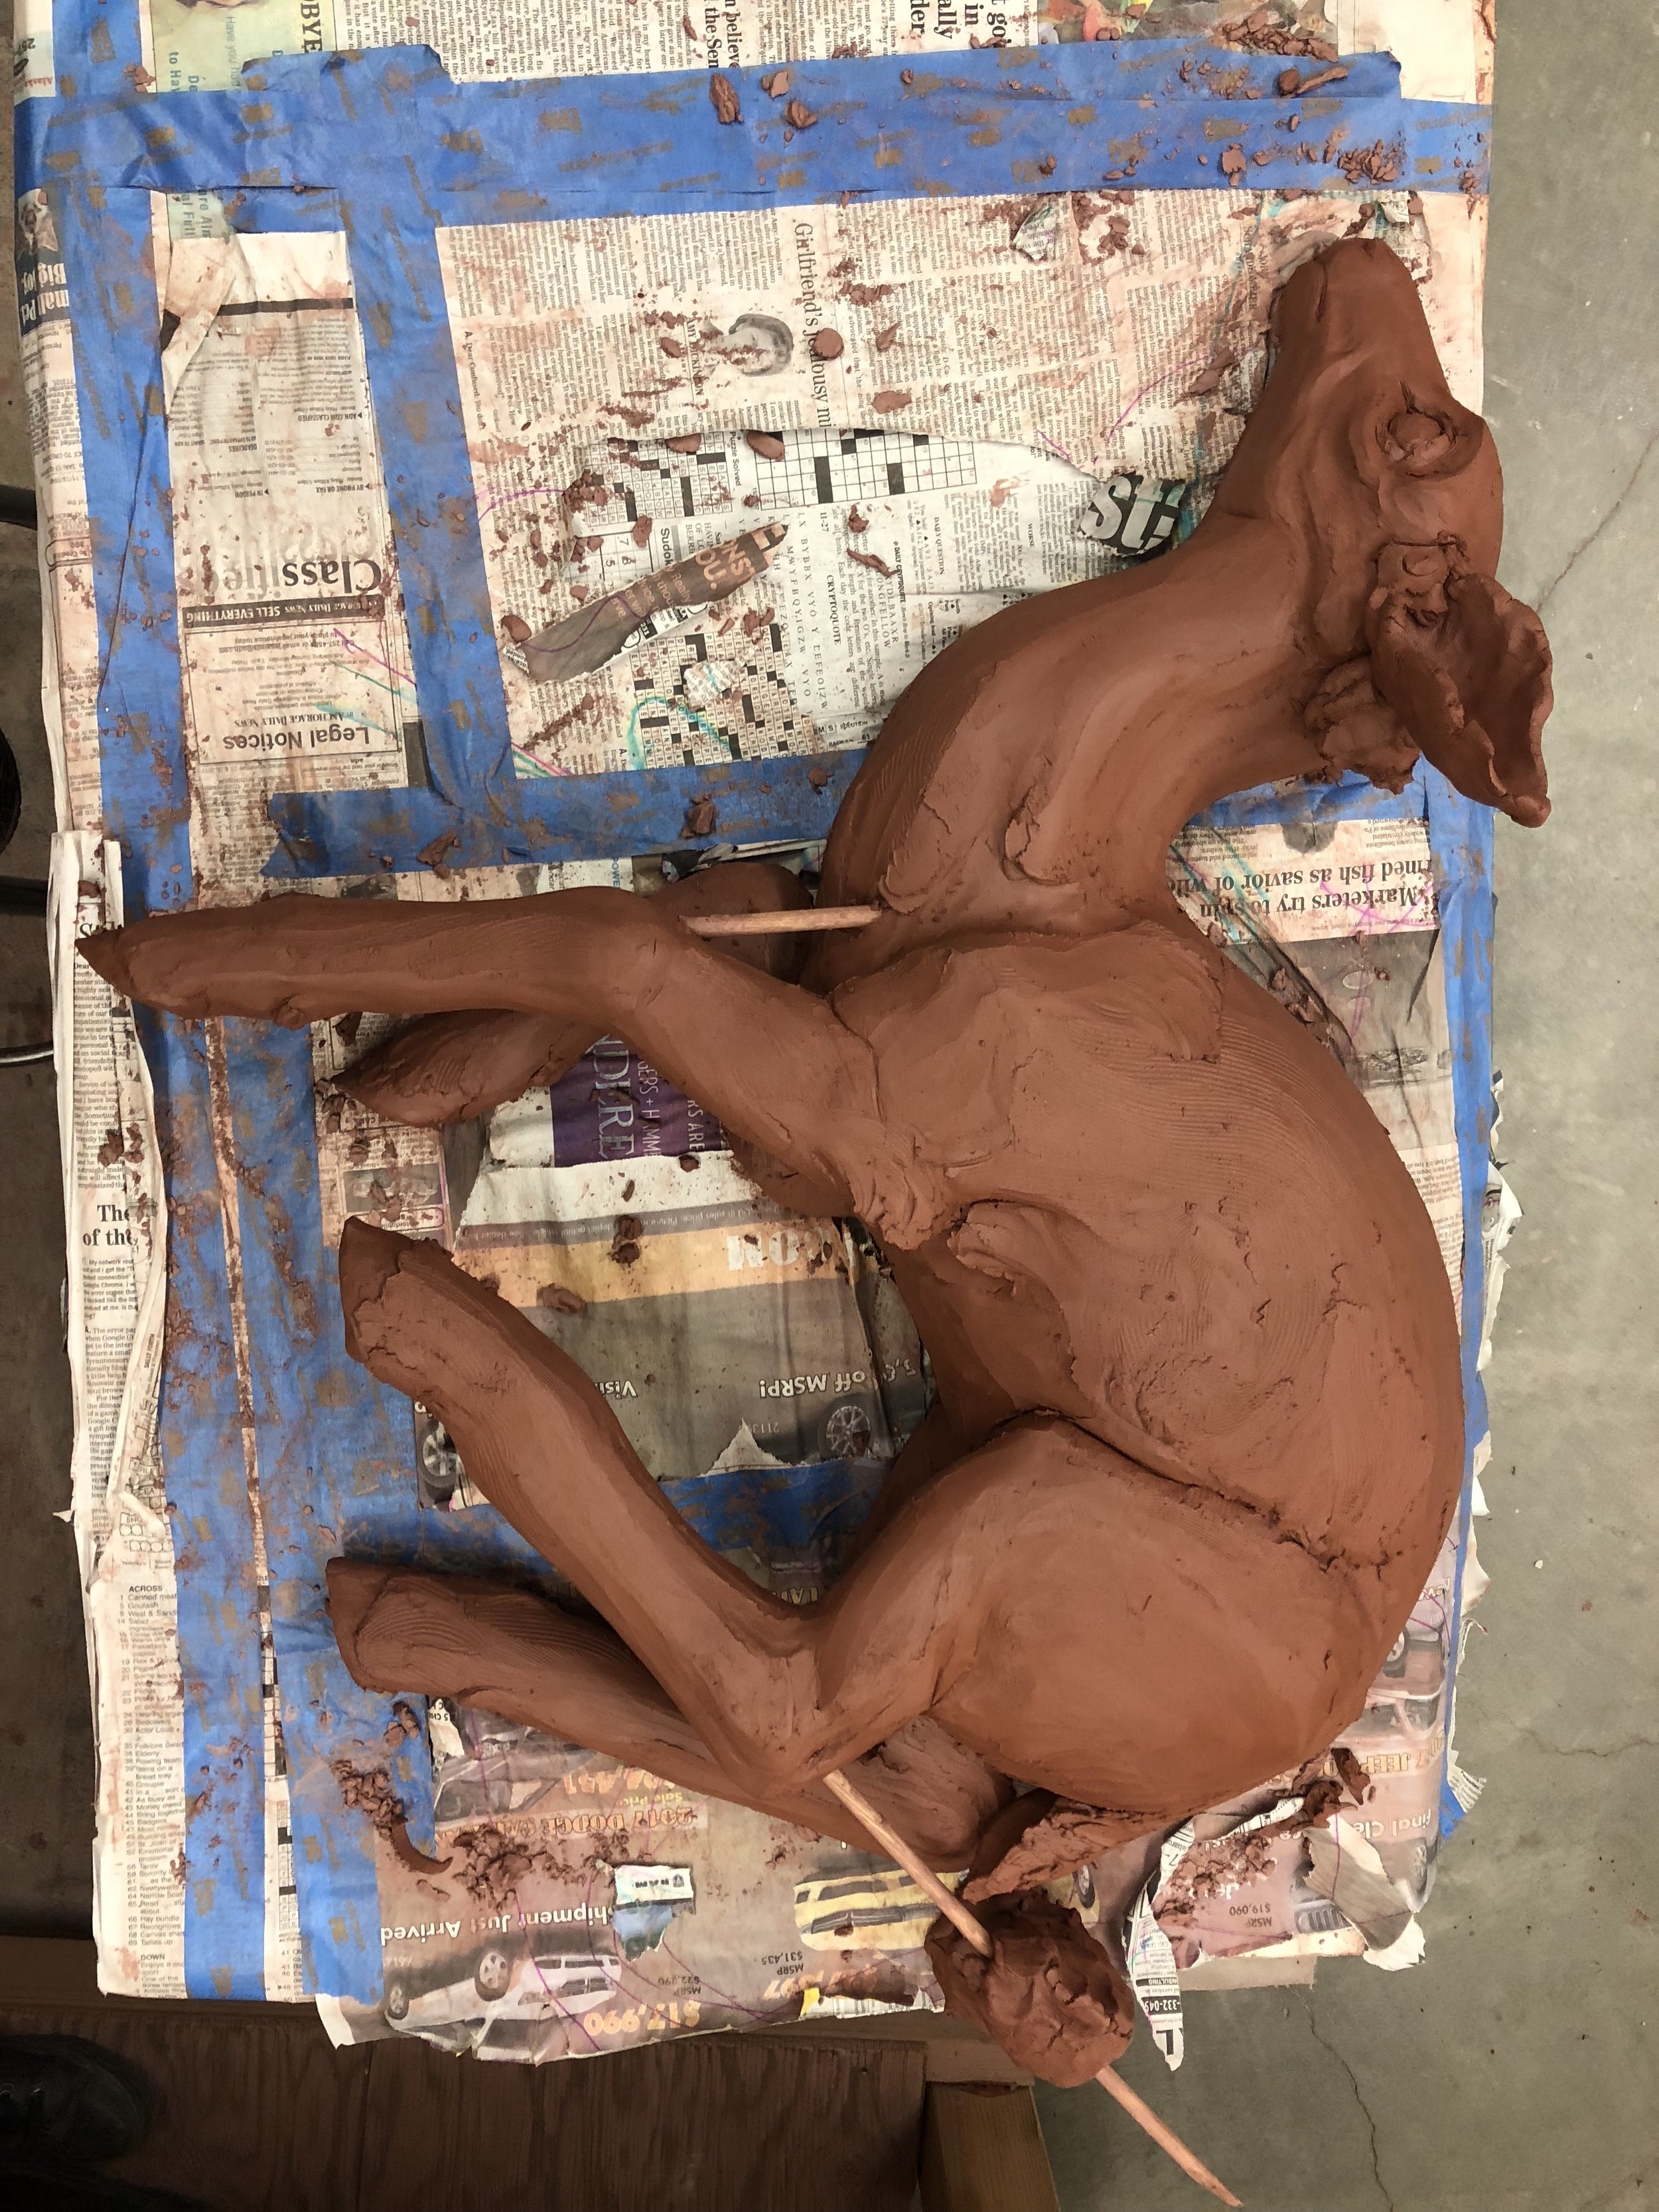
Maquettes for my vulture piece: Harbingers of the Apocalypse
Solid Build Method
My sculptures begin as a single, continuous piece of clay, which I carve, build on, or shape. Once the figure is mostly rendered, I allow the clay to firm up until the outer layer is slightly hardened. Then it’s time to hollow.
The flexibility in sculpting hollow allows me to change the pose, position, or anatomy of the animal that I’m working on without losing progress. However, hollowing is a delicate process. If I’m not careful with the thickness of the outer walls or begin too early, I risk misshaping what I’ve sculpted.
Depending on piece size, this stage can take one to two weeks.

Beginning stages of hollowing

Drying
Drying can take anywhere from several days to a few weeks.
Once hollowed and reassembled, I let my sculptures dry completely before it can be fired in the kiln. This is a crucial step because too much moisture in the clay can lead to cracks or fractures.
I tend to baby my pieces in the drying process, keeping them covered under plastic for most of the day in the early stages. Over time, I’ll gradually expose them to air for longer periods of time. Cracks can form at this stage if the piece is dried too fast, but I usually know a piece is good to fire if it the clay has changed color (with earthenware, means from a bright orange to a light brown) and it doesn’t feel cool to the touch.


Earthenware clay

The beginning stage of a sculpture
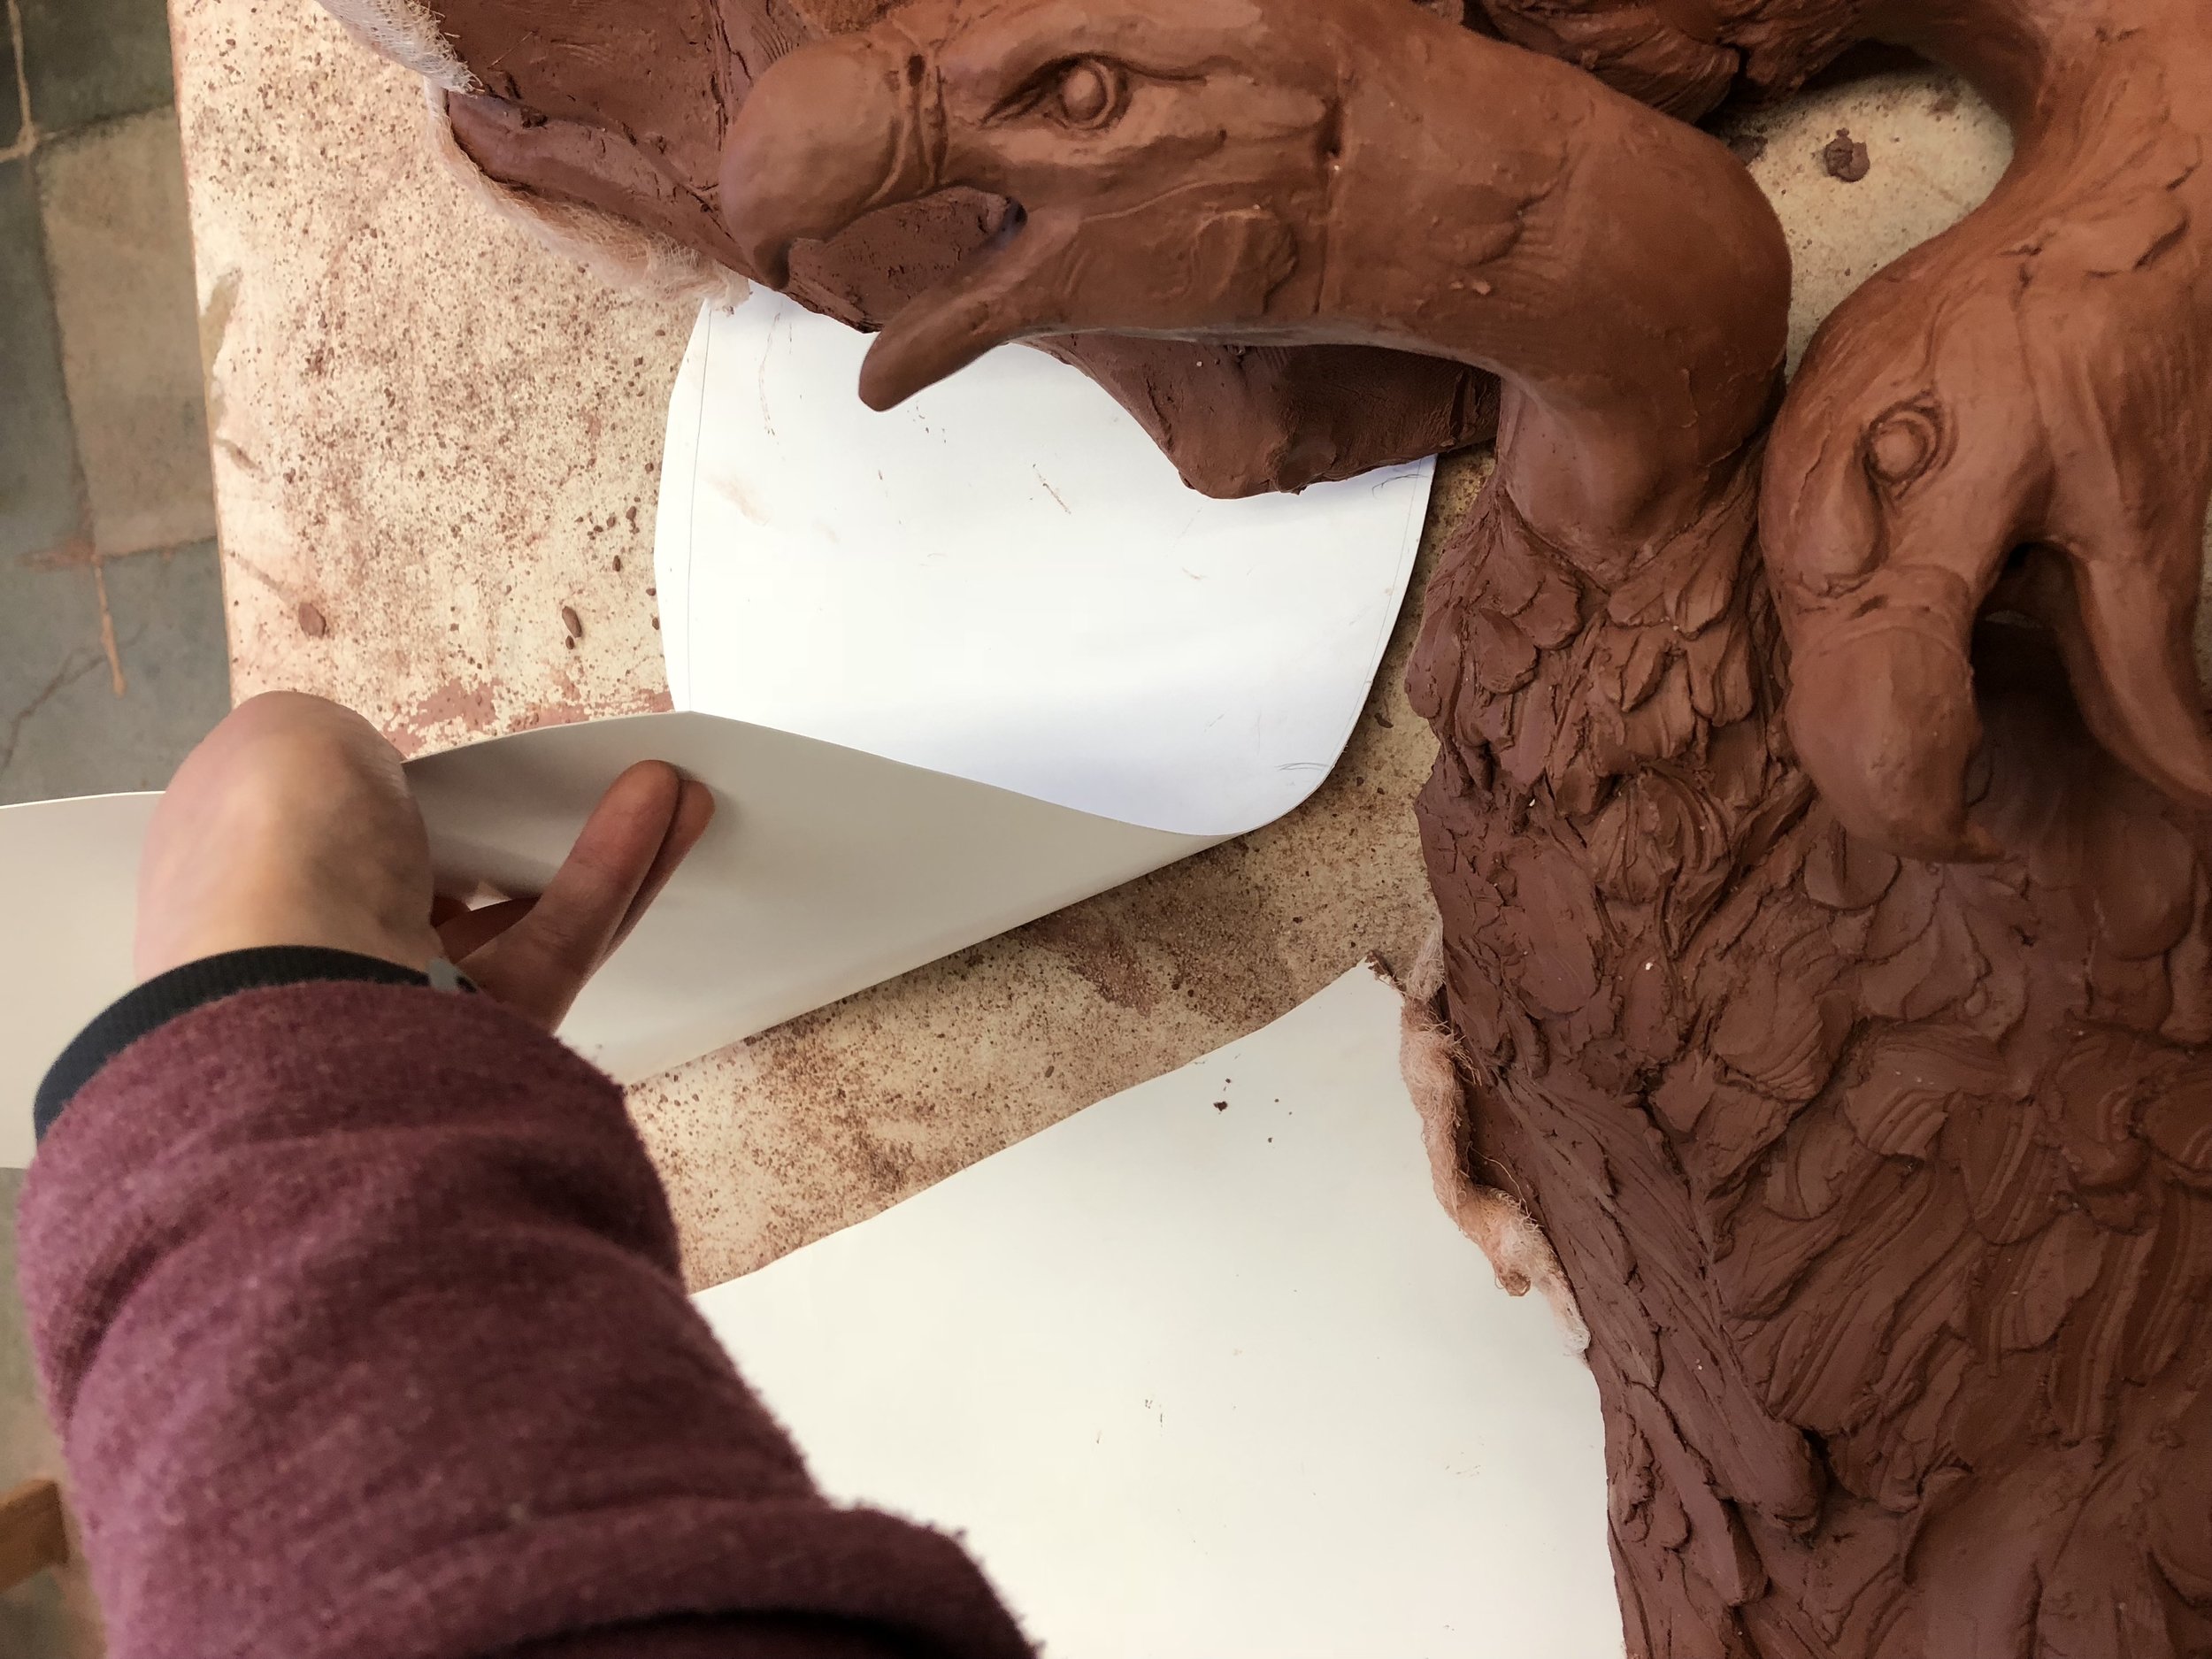
Hollowing Pieces
Removing clay from the interior helps the sculpture dry evenly, minimizing potential issues during firing in the kiln.
I’ll start by dividing the sculpture into sections by areas that provide the best access to the interior clay. Usually this looks like detaching all the limbs, the head, and the tail, leaving the torso. Once these sections are separated, I hollow and compress the interior of the piece using everything from trimming tools and ribs to butter knives.
The goal is to leave walls about a quarter to half an inch thick. This ensures the sculpture maintains its structure but will dry and fire evenly. This process can also take a week or two depending on size.

Process during hollowing
Once the piece is fully hollowed, the sections are reattached using scoring and slipping.
At this point, I’ll do the detail work. Adding claws, eyelashes, lips, teeth, etc. Refining is saved for last because I don’t want any detail damaged during the hollowing process.

A fox hollowed and reassembled
Firing
Clay: Low-fire grog free earthenware
Bisque: ^08 or ^06
Glaze: ^05 or ^04
I use low-fire clay, which means I’ll program the kiln to peak at around 1,800°F to 2,100°F. Bisquing at a lower temperature helps maintain a softer, more porous surface for applying glazes. Once bisqued, the earthenware turns bright orange, is no longer fragile, and is ready for surfaces.
I try to keep firing to a minimum, with one bisque fire and one or two glaze fires per piece.
For more in depth information on my glazing and underglazing, click the link.


PC: Hans Hallinen with IGCA